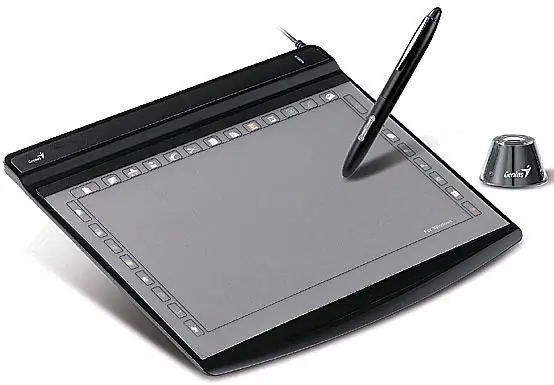
Drawing on a graphics tablet is fun and convenient. To do this, you just need to correctly adjust the tools, the tilt and angle of rotation of the pen, the pressure force. First, a sketch is performed, after which a detailed drawing takes place. All operations are similar to traditional pencil drawing on paper.

It is necessary
Graphic tablet, computer, Adobe Photoshop
Instructions
Step 1
After connecting the tablet to the computer, install the driver for your device model from the included disk or downloaded from the manufacturer's website.
Step 2
Customize the tablet control panel. Pay particular attention to adjusting the sensitivity to the pressure level on the pen; setting the shape, continuity, opacity and size of the brush. Adjust the tilt of the pen, the angle of rotation. Add an eraser and other tools. Snap your tablet to your computer to work with Adobe Photoshop, making your work faster and easier. A detailed description of the setting can be found in the instructions supplied with the tablet.
Step 3
Adjust the pen response on the tablet to suit your personal drawing style. Create your own custom brush if needed.
Step 4
Make an initial sketch, then paint all the details carefully. Adjust the pressure and tilt of the pen without fear of experimentation. In this case, all hand movements and drawing order are similar to those that are characteristic of traditional pencil drawing on paper.


