A graphics tablet is a great tool for those who want to not only express themselves, but also, over time, start making money on their favorite hobby. A digital image is sometimes difficult to distinguish from a real drawing created with paper and pencil, charcoal, pastels or paints, it looks so realistic. And let it be ahead for you, you need to start from the very beginning.
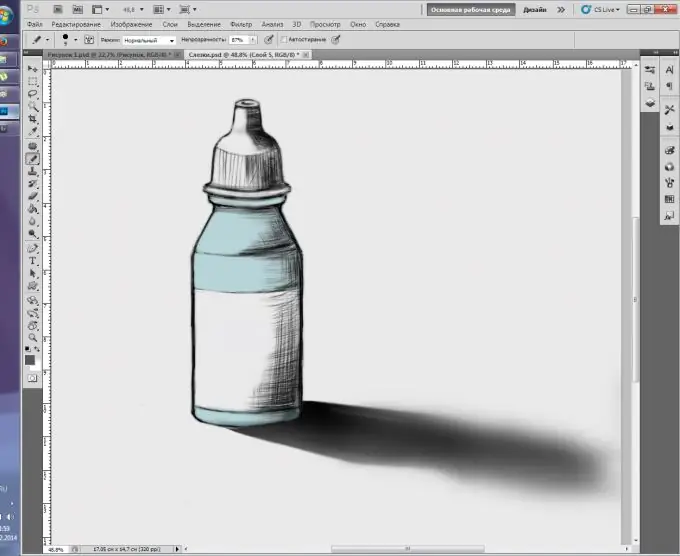
It is necessary
- - graphics tablet and installed drivers for it;
- - Adobe Photoshop program;
- - a computer.
Instructions
Step 1
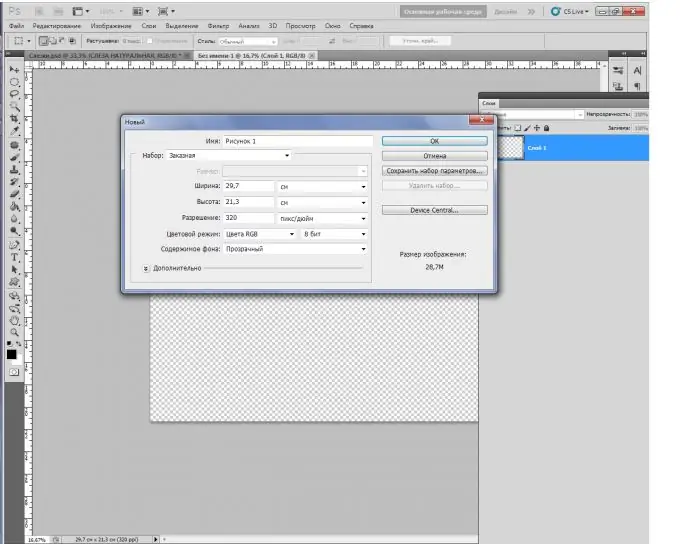
Create a new document using the keyboard shortcut Ctrl + N. Select the options as shown in the figure. This is a standard A4 size landscape sheet. If after creating the picture, you intend to print prints, select the CMYK color mode, but if it is intended exclusively for the Internet, leave RGB.
Step 2
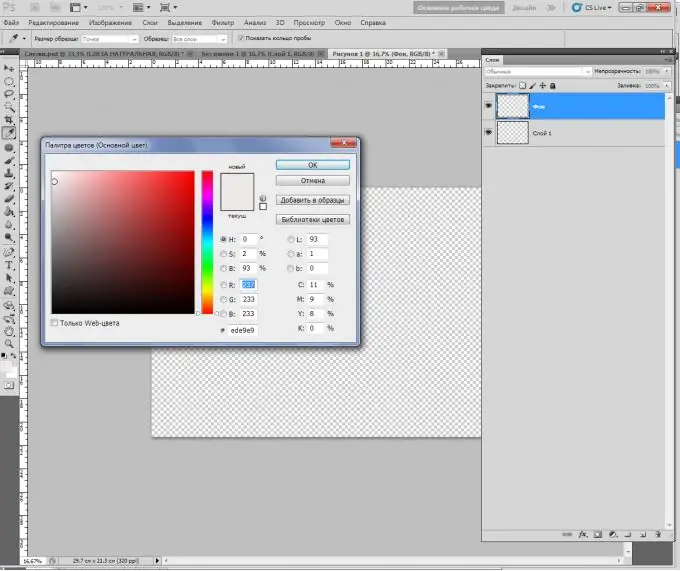
Create a new layer (Ctrl + Shift + N), for convenience name it "Background". Fill with light gray to simulate the color of plain paper. This is necessary solely for the convenience of perception.
Step 3
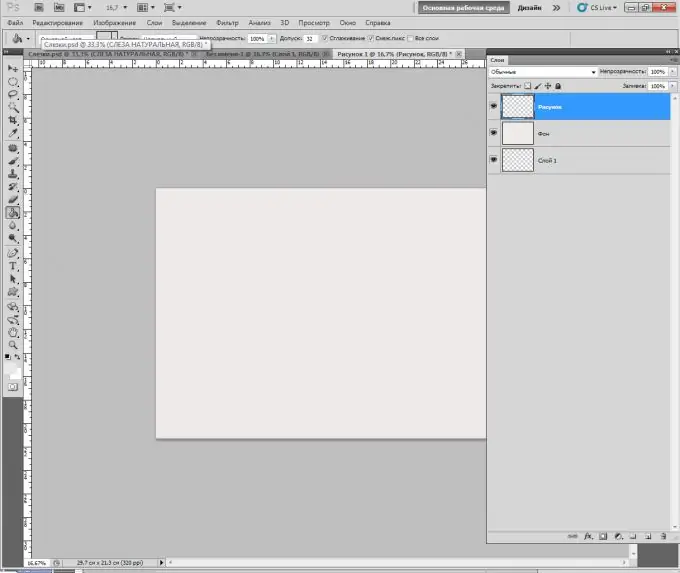
On the next layer, you will already be drawing. Press Ctrl + Shift + N again. Name it "Picture" so that you don't get confused in the layers later.
Step 4
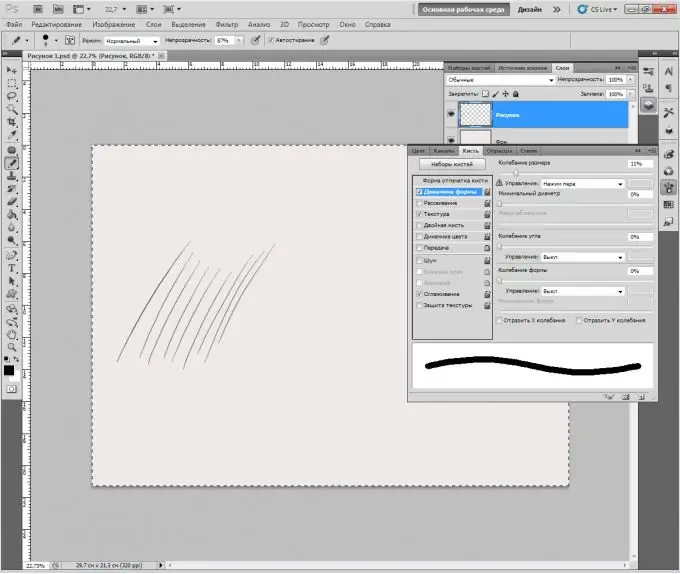
Now you need to set up the brush to simulate drawing with a pencil, because it is easier to comprehend the basics of drawing on a tablet precisely from black and white graphics, and not from watercolor. To do this, open the brushes panel, select the pencil, increase its diameter to 7-8 pixels and make the first strokes.
If the pen pressure is not set by default, go to properties (icon with three brushes or F5 key) and in the "Control" item select "Pen pressure".
Reduce the Opacity to 85-87%.
The color of the brush is # 575555.
Step 5
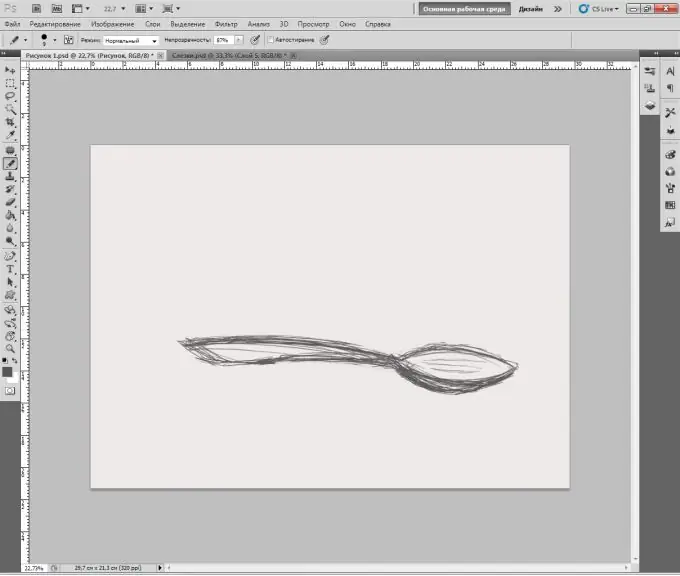
You have made all the basic settings. Now you need to fill your hand. The mistake of novice digital artists is that they try to draw every detail from the very beginning, but you always need to start with creating a sketch - a schematic drawing consisting of wide strokes.
So, put in front of you the most ordinary spoon or put any simple figurine. Create contours with large strokes without fear of breaking the proportions. Gradually, line by line, you will create a completely believable sketch of the subject.
Step 6
You cannot do without sheet rotation in drawing. In "Photoshop" there is such an opportunity. Hold the R button and rotate the sheet as you like.


