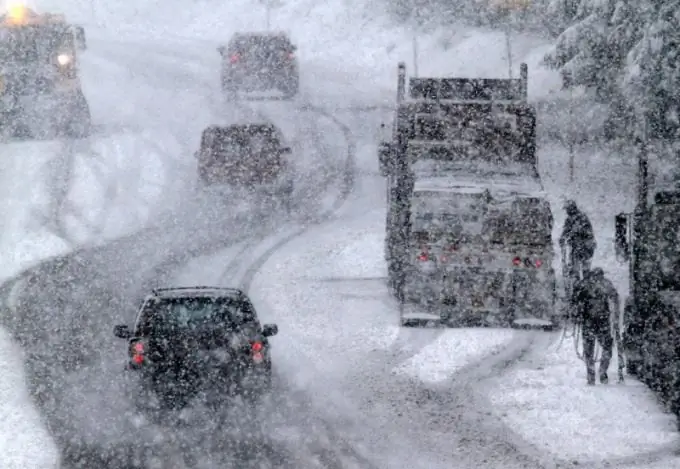
Want to surprise your friends living in another city? Easy. You can, for example, tell them that a lot of snow has already fallen in your city, and if they don’t believe it, provide material evidence - a photograph. But where can you photograph the snow if it hasn't fallen yet? Draw.

It is necessary
- - camera;
- - a personal computer with access to the global network.
Instructions
Step 1
Take a photo of a part of the city that your friends know well, for example, an avenue or an entrance to a city.
Step 2
Download Photoshop and install it on your computer. After installing this software, launch it and open the taken photo in Photoshop.
Step 3
Resize the photo from 72 dpi to 300: this will make the process of working with the photo easier and improve the result.
Step 4
Create a new layer: make sure black and white are set in its palette. Name this layer, for example, "falling snow".
Step 5
Draw a small rectangle in the middle of the photo and fill it with clouds. To do this, perform the following sequence of actions: Filter - Render - Clouds.
Step 6
Use Filters> Pixelate> Mezzotint> Coarse Dots to bring the snow closer. After that, enlarge the rectangle by stretching it across the photo. Go to the menu and perform the following sequence of actions: Select> Color Range, and then select the black areas and delete them (do not touch the white ones). The fuzziness value should be set to 68.
Step 7
Now soften the effect by doing the following: Filters> Blur> Motion Blur. To make drifts, use the rubber stamp tool.
Step 8
Using the eraser and rubber stamp tools, adjust the opacity of the layers, erase where you overdid it with the blizzard. In other words, adjust the image to make it realistic. Now is the time to save all the changes you made and send the photo to your friends by email.


