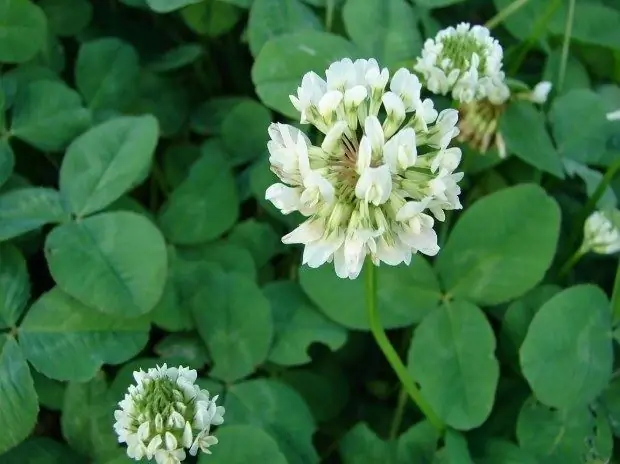
There is a belief that if you find a four-leaf clover, then a person will have great luck. If you failed to do this, draw a flower with four leaves and you will certainly be lucky.

Clover leaves
Start your artistic creation with a 3-leaf clover. After all, such plants are found most often. If the flower grew in a shaded place, then its stem was extended. This is the easiest clover to draw. Draw a vertical line - the peduncle is ready.
If the creation of nature grew up in a sunny place, then the stem did not need to rush so strongly upward. He has grown to be more stocky and slightly curved. Draw it in the form of an arc, both ends of which are raised upward. Leaves will be located on the left edge. It is very easy to draw them. Draw a small heart at this end of the arc with the tip down. Draw two more in the same way. They are located symmetrically relative to the stem.
If you want to draw a clover that has 4 leaves, then draw the fourth. Then they should all be arranged symmetrically. In the middle of each leaf, draw a line that divides both parts in half. It starts from the bend of the heart and ends at its tip - these are veins.
Paint the outer edges of the leaves with light green, and the core with dark green paint. Now you can see that the edges of the leaves are more illuminated by the sun, the dark middle gave this part of the clover volume. Feels like the core of the leaves slightly bends inward.
Clover flowers
Connect the stem of the leaf to the trunk on which the flower will be located. Draw it with short strokes. If you later want to color this part of the plant, do not press hard on a simple pencil.
Choose at what stage of blooming the flower is. It can be an unopened bud or a full-blown one. If you want it to be a bud, place the strokes close to each other, together they form an oval.
The blossoming flower is a circle. Mark where its middle will be, draw small symmetrical rays from it in all directions. There are many of them, they make the flower fluffy.
If you want to capture a clover that is warped from the heat, then start stroking from the middle of the bud as well. Those located in its upper half are directed towards the sun. Draw the lines from the bottom half towards the ground.
Erase the lines created with a simple pencil (except for the veins of leaves), and add a drawing of delicate colors. You can color the clover flower with a white or lilac pencil. Thin petals at the base are green. Take a pencil of this tone and transfer this feature to your artistic creation.


