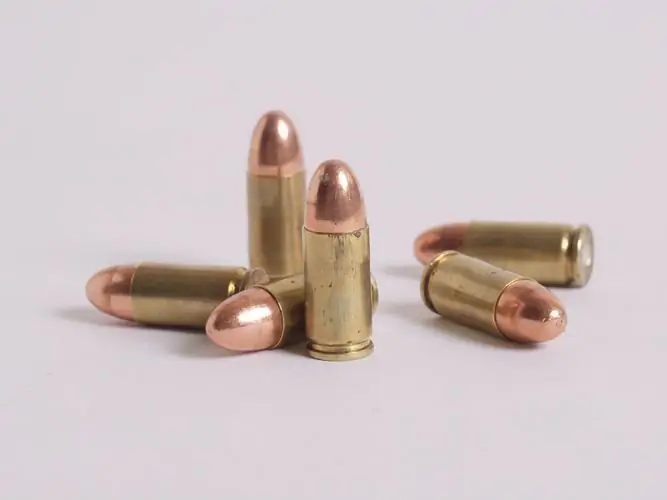
The image of a bullet is often used to create dynamic posters. If you prefer to paint the details yourself, you can make this collage element using Photoshop's Layer Styles.

It is necessary
Photoshop program
Instructions
Step 1
Press Ctrl + N to create a new file in Photoshop, choosing RGB from the Color Mode list box. The background color of the document doesn't really matter, but the image you'll be drawing looks good on black.
Step 2
The bullet volume effect will give the layer style. To prevent the style settings from affecting the background, use the Ctrl + Shift + N keys to add a layer to the file on which the image will be located.
Step 3
Draw the base of the bullet. To do this, use the Elliptical Marquee tool to create a vertically or horizontally stretched oval selection. Switch to Rectangular Marquee / "Rectangular selection" in the mode Subtract from selection / "Exclude from selection" and cut off half of the resulting oval. Fill the rest of the shape with a yellow-brown color using the Paint Bucket Tool.
Step 4
Use the Inner Shadow option from the Layer Style group of the Layer menu to open the layer style settings. In the active tab, select the Color Dodge blending mode from the Blend Mode list. Click on the color swatch and change it to white. Reduce the Opacity value to thirty or forty percent, and adjust the Angle parameter so that a narrow light stripe appears in the wide part of the bullet.
Step 5
Go to the Inner Glow tab and change the blending mode of this effect to Color Burn and the color to black. Adjust the parameters Opacity and Size / "Size", focusing on your own ideas about the shape of the depicted object. Large values of both parameters will result in an extended bullet. By decreasing any of the values, you will draw a fairly wide and flat object.
Step 6
Going to the Gradient Overlay tab, adjust the gradient flare, which will give the picture a metal effect and additional volume. Set the Blending Mode to Hard Light and leave the Opacity of the effect between fifty to seventy percent. Select Reflected from the Style list. In the Angle field, adjust the direction perpendicular to that in which the bullet is stretched. If instead of one narrow flare in the middle you got two on the sides, turn on the Reverse option.
Step 7
To add tints to the image and get a more natural shadow, copy the bullet layer using the Ctrl + J keys and overlay it on the original in Color Burn mode by selecting this item from the list in the top panel of the layers palette. Reduce the opacity of the copy to forty to fifty percent and blur it with the Gaussian Blur filter, which is enabled by the Blur group option in the Filter menu. The amount of blur will determine the density of the shadow on the sides of the bullet.
Step 8
Option Save / "Save" menu File / "File" save the picture with all layers in the file psd.


