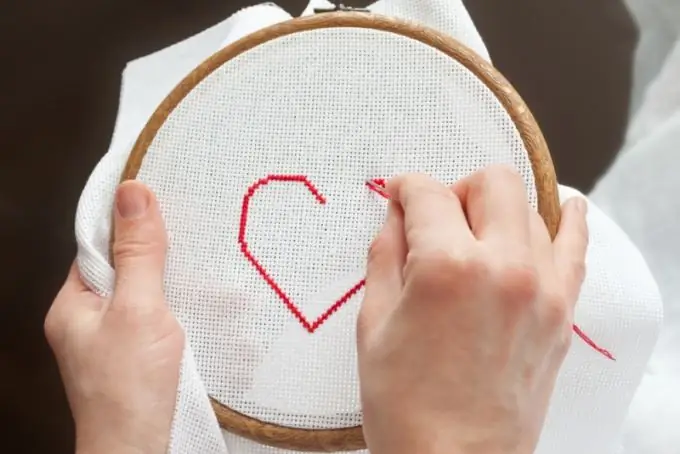
It would seem that a needle and a thread are the most elementary things that can be found in any person's house. But, if you add imagination, patience to this, then unusually beautiful things can turn out. You can decorate clothes, interior items with embroidery, make a picture and many more wonderful things, at the sight of which every guest in your apartment will admire the golden hands of the hostess. There are various embroidery techniques. The most common is cross stitch.

It is necessary
- - scheme for embroidery
- - canvas
- - needle
- - threads
- - embroidery hoop
- - scissors
Instructions
Step 1
Select the pattern you would like to embroider. The variety of craft magazines has embroidery patterns on a variety of topics.
If you bought a ready-made embroidery kit, then it has a suitable canvas size for the work and the appropriate thread colors are selected.
But, if you purchase everything you need yourself, then pay attention to the tips that are in the diagrams.
To prevent the canvas from accidentally ending while embroidering, you need to determine at the beginning of work what size of the canvas you need.
The diagrams almost always indicate the size of the finished work. Add 5 cm to each side. This will be the required fabric size. We add extra centimeters so that the finished work can be placed in a frame or sewn into any product.
If the size of the finished work is not indicated in the diagram, then count the number of cells in the diagram horizontally and vertically. This is easy to do, since every 10 cells are highlighted with a different color or a bold line.
Then, with a ruler attached to the canvas, see how many cells fit in 1 cm. Calculate how many centimeters are required for the number of cells in the diagram. Don't forget to add an extra 5 cm.
Step 2
For embroidery, floss threads are usually used. Be careful when determining the size of the thread. The thread should not be too long, otherwise it will constantly get tangled, which will cause inconvenience. But the short thread is also not worth measuring, as you will have to change it often. This is especially inconvenient when embroidering a large area in one color.
It is also often recommended in charts on how many threads to embroider. When you gain experience, you will do as you like.
Step 3
So, the size of the canvas is determined, the threads are selected. Now you need to attach the hoop to the fabric so that the canvas does not wrinkle during embroidery, and the crosses are even.
We measure the desired length of the thread. In this example, the embroidery will be done in 2 strands. Separate 1 thread from the pasmo (bundle of threads), cut about 50 cm. Fold the thread in half and insert the needles into the eyelet. You don't need to make any knots.
Pull the thread through the canvas, so that the end of the thread with the eyelet stays on the wrong side. Stitch diagonally across the square.
Step 4
Pass the needle through the loop from the wrong side and gently pull the thread. Thus, the thread is secured, but there is no knot.
Step 5
Insert the needle into the lower right corner of the cage and sew diagonally. It turned out to be one cross. But if you need not one, but a whole row of crosses of the same color, then it is more convenient to first make a row of half-crosses. After the needle is inserted into the lower right corner of the cage, insert it diagonally into the upper right corner of the next cage, then back into the bottom, etc. At this time, vertical seams are obtained on the seamy side.
Step 6
After you have made the required number of half-crosses, insert the needle and thread into the upper left corner of the previous cell, then into the lower, etc. It turns out a series of crosses.
Step 7
It is more convenient to embroider in one color first, and then change the thread. So you will know that all the rows that should be performed in this color are already ready. You don't have to count the cells to start working with a different thread.
To change the thread, pull the needle through the loops formed on the wrong side, cut the thread.


