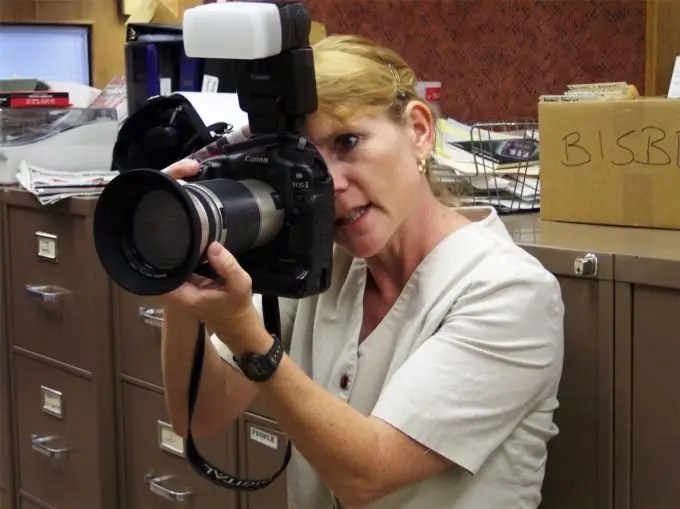
If you have a desire to become a professional in photography, do not rush to take a huge number of commercial orders right away. To get started, learn the basics of "photogramma" carefully. Exposure, aperture, white balance, high-quality lighting - a necessary minimum of knowledge for any novice photographer.

It is necessary
- - camera;
- - lighting devices;
Instructions
Step 1
Choose a scene for the picture. No matter what anyone says about the technical component of a good shot, content always comes first. The least you can do is find a non-standard move. It doesn't matter what genre you are going to shoot in.
Portrait, landscape, reportage, etc. Even shooting a still life, you can show your imagination and make a unique shot. So, first of all, think about what you are going to shoot and why.
Step 2
Consider the composition of the shot. To do this, familiarize yourself with the rule of the "golden ratio" or, as it is also called, the "rule of thirds". To do this, mentally divide the screen into equal parts with two horizontal and two vertical lines. Many cameras have a function that displays these lines on the camera screen.
Step 3
Build your composition by placing objects in the frame in relation to these lines. It is recommended to place objects of significance for the photograph at the points of intersection of these lines. You will see that such a composition looks much more interesting than placing the subject in the center.
Step 4
Make sure that the optics on your camera are of the correct quality. Optics for cameras can be expensive, sometimes several times more expensive than the camera itself. But if you're looking for perfection, don't skimp on lenses.
Lenses of different types will allow you to take good pictures, no matter what genre of photography you take. Therefore, it will not be superfluous to take several lenses with you for shooting. If you can't get the lens, you can rent it or borrow it from a friend. At the same time, in the process of practice, you will understand which one suits you best.
Step 5
Try to install good quality lighting. 90% of shooting success depends on the lighting. Try not to combine light sources with different light temperatures. Explore different types of lighting and try them out in practice.
Watch your white balance. How to adjust the white balance on your camera, see the instructions for your camera.
Step 6
Use natural light. Shoot in the morning or evening for softer, diffused lighting. If you need more contrasting shots (harsh shadows, bright lights), then shoot during the day.
Try shooting at dusk or dawn for unique warm tones.
Step 7
Use the flash for poorly lit rooms. At the same time, try not to move away from the subject by less than five meters. Use optional flash if required.
Step 8
Shoot moving objects at fast shutter speeds if you want to get the effect of "frozen" motion. If your target is a moving object that leaves a long trail of light behind it (for example, cars at night), shoot at a slow shutter speed.


