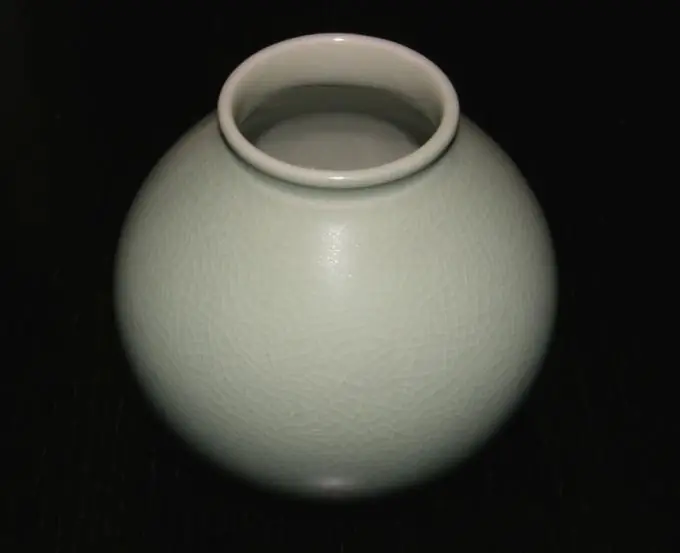
Drawing a vase with a pencil is one of the stages of teaching academic drawing. Art students paint mostly plaster or marble vases. If you are learning to draw on your own and you do not have a white vase, take any.

It is necessary
- Paper
- Pencil
- Vase
Instructions
Step 1
Draw a vertical line in the middle of the sheet. At some distance from the bottom edge, draw a perpendicular to it in both directions. In this case, you should not use a ruler, you need to do everything by eye and by hand.
Step 2
Draw a vertical line in the middle of the sheet. At some distance from the bottom edge, draw a perpendicular to it in the side of the side. In this case, you should not use a ruler, you need to do everything by eye and by hand.
Step 3
Determine the ratio of the height and width of the vase in different parts of it. Set the estimated height on a vertical line. See which parts the vase is divided into. It can have a neck, the most convex part, and so on. Determine the approximate height of the most convex or concave parts and draw horizontal lines through these points. It is better to draw these auxiliary lines with a hard pencil so that they are not very noticeable.
Step 4
Determine the ratio of the parts to each other by thickness Mark the approximate segments on the horizontal lines. Connect the end points of these lines with a thin line. Note that the vase is most likely symmetrical. And accordingly, in the figure, it is also necessary to observe symmetry.
Step 5
When you figure out the contours of the vase, decide on the shape. Convey the features of the form with light shade. More convex areas appear lighter, concave areas appear darker. On rounded parts, the direction of the hatching can coincide with the contour lines. But you can also apply direct hatching in different directions. Draw the most convex and most concave parts of the vase with light and shade, and then proceed to detailing. Notice how light and shadow flow smoothly into each other.


