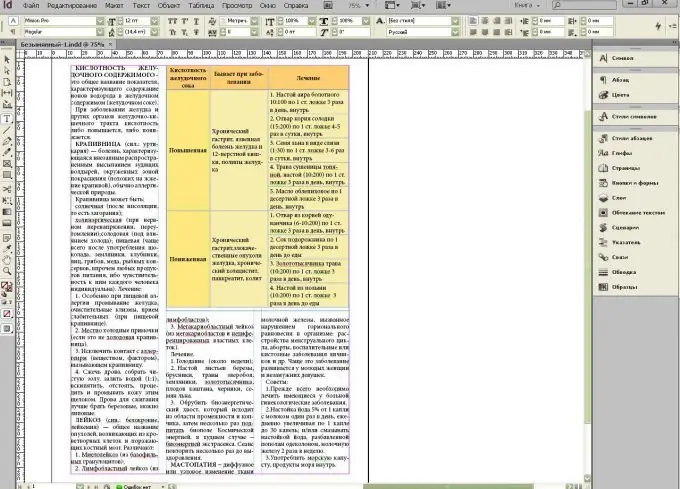
In the InDesign InDesign program, you can create a table in 2 ways: create it in the program itself or transfer it from Word or LibreOffice. Then the table can be beautifully designed and placed in the text.
Instructions
Step 1
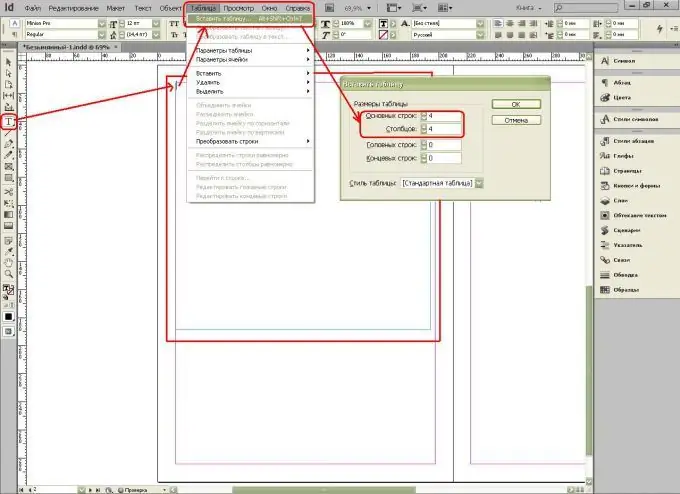
Let's create a table in InDesign from scratch. To do this, select the Text tool, stretch the frame (text borders) and position the cursor. Then select the command Table-Insert Table from the menu, select the number of rows and columns.
Step 2
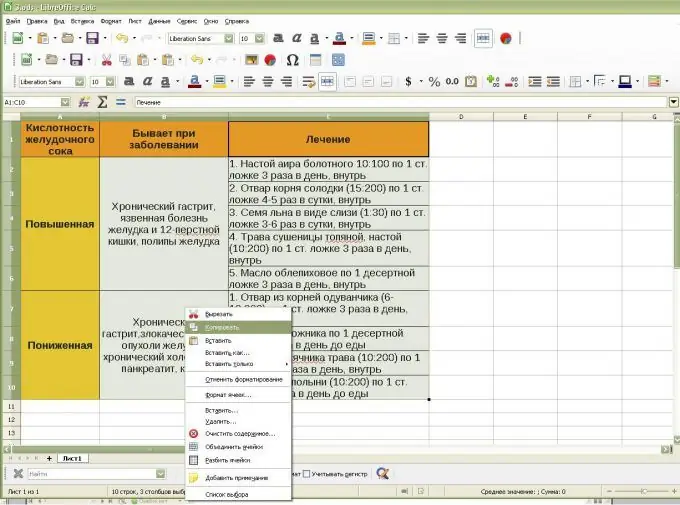
Now let's try the second option - insert a table from LibreOffice into InDesign - for this we select and copy it.
Step 3
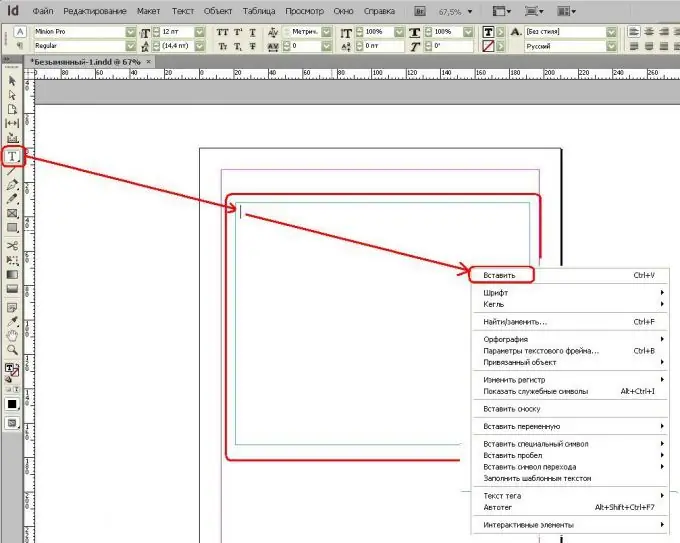
Select the Text tool in InDesign, then stretch the frame (text boundaries) and place the cursor in it. Then right-click (right mouse button) and select the Paste command.
Step 4
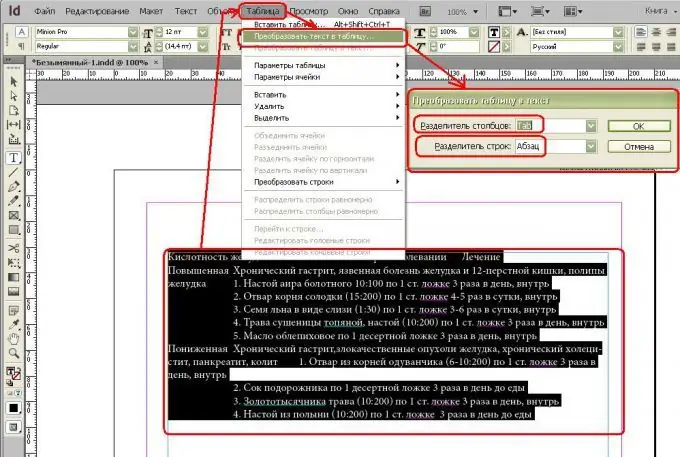
Select the text and choose from the Table menu - Convert Text to Table. In this case, you must select Column separator: Tab, and Line separator: Paragraph.
Step 5
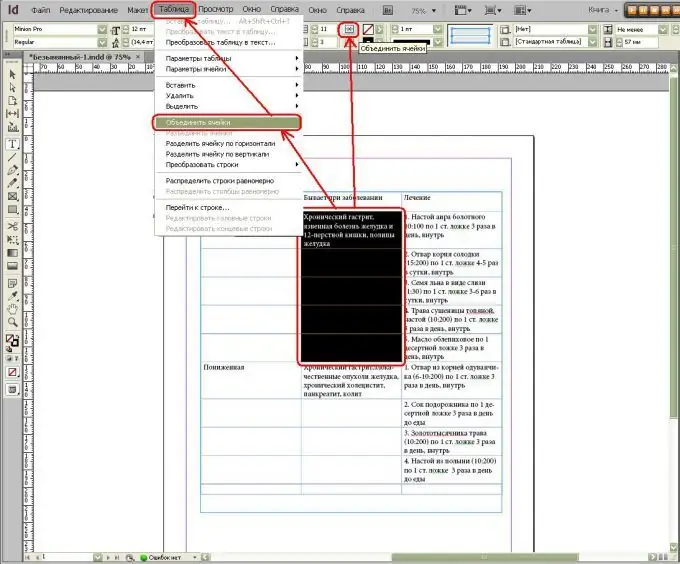
Now let's move on to the design of the table - first, we will merge the cells.
Step 6
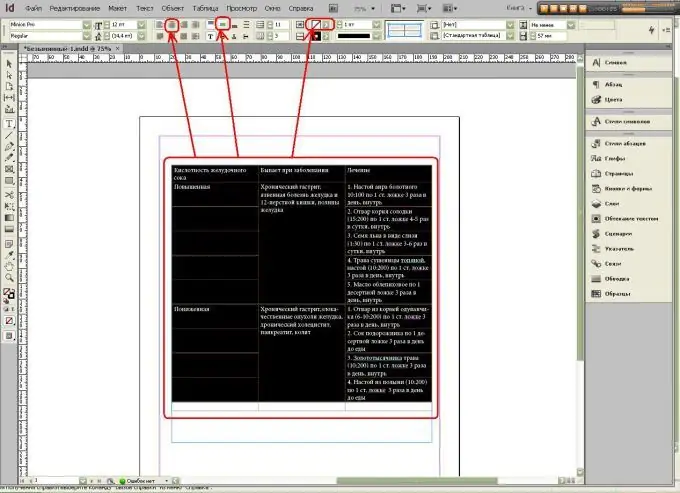
Then we will remove unnecessary lines.
Step 7
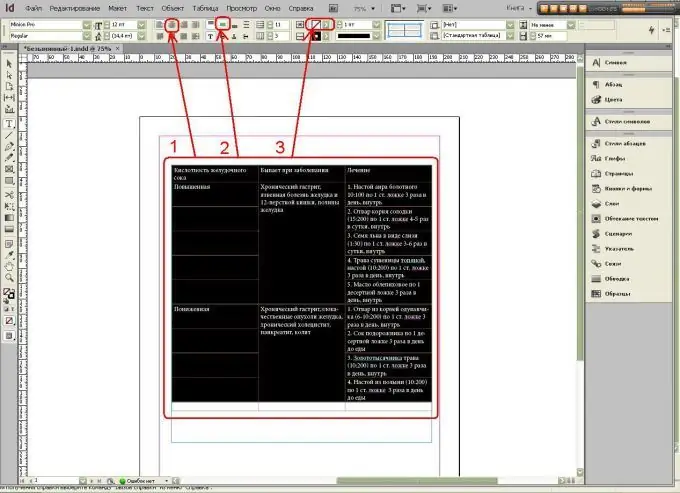
Let's go to the text settings: align the text in the middle (1), then - in the center (2) and go to filling the cells with color (3).
Step 8
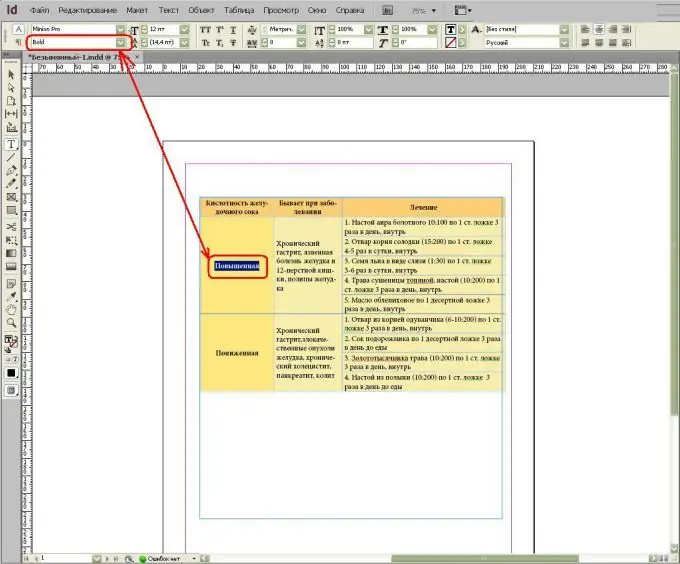
Now let's make the title in bold. In the upper left corner there is a font selection menu - for us it is MinionPro, and just below we select the font settings - thickness and style: select the bold color - Bold. By the way, the italic font is Italic and the regular font is Regular.
Step 9
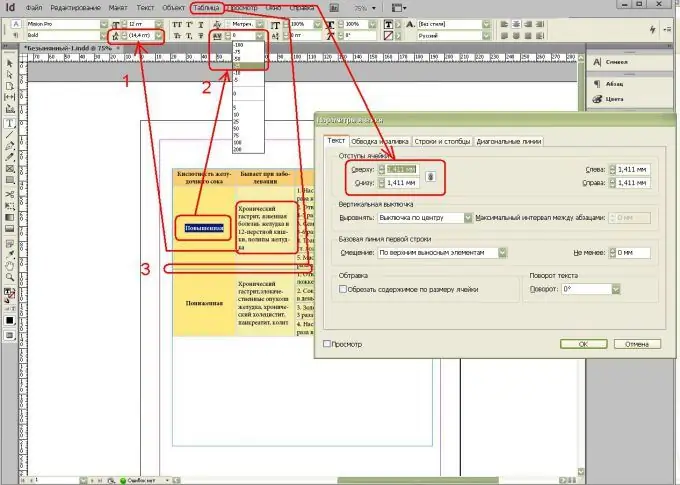
Now let's move on to the settings that determine whether the table will fit on the page, especially if the layout is with columns:
1 - distance between lines of text;
2 - distance between letters;
3 - the distance between the rows of the table.
Step 10
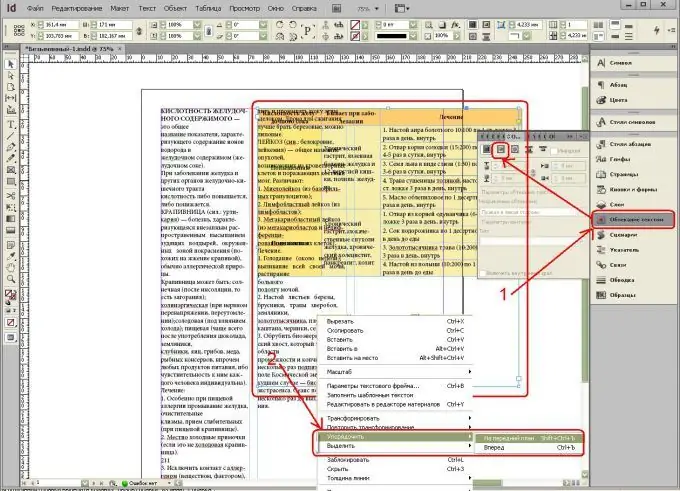
Now, when the text is overlaid, the table may get lost, disappear and not display or merge with the text, so we will choose one of 2 options:
1 - set up the wrapping (To do this, go to the tab on the taskbar Text wrapping (called through the Windows menu - Text wrapping) or
2 - adjust the position (order) relative to the text: right-click (right mouse button) - Arrange - Send to back.
Step 11
To make the table look nice in the text, add an indent - usually 4 mm at the top and bottom is enough. To do this, go to the tab on the taskbar Text Wrapping (called through the Windows menu - Text Wrapping).


