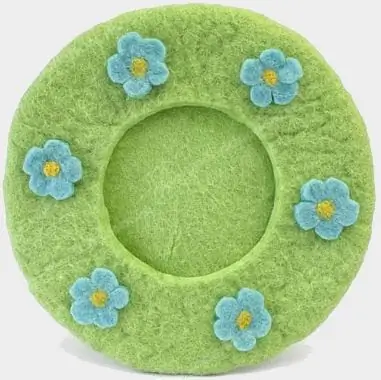
Surely everyone in the house has a photo that you do not mind putting in a frame and hanging in a conspicuous place so that it is always in front of your eyes. Now there are many ways to make a frame. But problems arise with the manufacture of an oval.

It is necessary
- - a computer with a printer;
- - A3 paper for printing;
- - three pieces of natural felt of different colors according to the size of the future frame;
- - the device with which the paintings are hung;
- - 1 sheet of thick cardboard;
- - pencil;
- - scissors;
- - glue.
Instructions
Step 1
First, make patterns for your product. It will consist of three oval frames of different color and size, glued one on top of the other. To do this, print the ovals created in a graphic editor on paper. The first is the size of the outer diameters 40 and 20, the second is 38 and 18, the third is 35 and 15. These sizes of the inner diameters are given conditionally. You determine them yourself by the size of the photo for which you are making a frame, but the inner diameters of the second oval should be less than the inner diameters of the first, similarly with the third and second ovals. The edges of the first oval can be left smooth, or wavy patterns can be cut with scissors. Cut the edges of the second oval, like a flower, and make the third oval 1.5-2 cm thick so that it fits completely on the second.
Step 2
Transfer each paper oval with a pencil to felt and cut out. Choose a different color for each oval. Decide on the inner edges of the first oval, as they depend entirely on the photograph. Try on the photo for the frame. If the photo is larger, then you need to crop a little. The third is the narrowest oval, glue it to the second. Glue the second oval to the third in the same way.
Step 3
Let the glue dry. Cut out an oval slightly smaller than the first from thick cardboard. When the glue dries, glue the felt frames along the edge to the cardboard so that the photo fits in the middle. On the back of the frame, attach the picture hanging device. Let the glue dry well and then you can already hang the framed photo on the wall.


