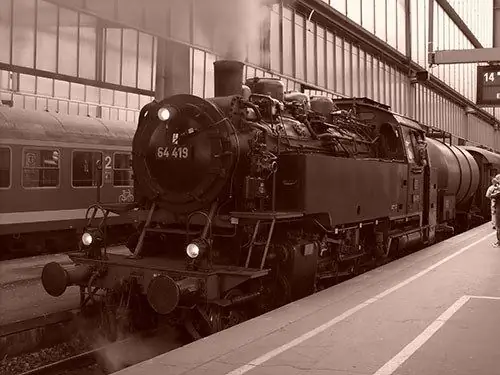
The hobby of modeling railways has become very popular. However, it is not always affordable to buy, along with a locomotive and wagons, expensive models for creating a landscape. Having shown imagination, you can make the embossed environment yourself.

It is necessary
- - starting set of the railway;
- - table;
- - polyurethane foam;
- - plywood;
- - sandpaper;
- - stationery knife;
- - paint.
Instructions
Step 1
Buy a starter kit: rails, a train with a power system, bridges, barriers and traffic lights. Prepare a place to place the layout. It is advisable to set aside a separate table or a fenced-off area on the floor for the railway.
Step 2
Sketch the layout on paper, choosing a style and determining the future location of each item. Transfer the idea, reflected on the paper, to the table. According to this plan, using a pencil, mark the boundaries of the track on the table.
Step 3
Make a mountain with a tunnel through which the train can pass. Now draw a separate sketch of the mountain on paper. Knock down a box of thick cardboard or plywood directly above the rails. After making sure that the size of the box allows the train to pass under it, apply a layer of polyurethane foam around it at the very base. Let it dry for a couple of hours, and then apply the next coat, which also needs to be allowed to dry. So cover the entire box.
Step 4
Be sure to let each layer dry well so that the foam does not sag and the mountain turns out to be solid. After the required amount of foam has been applied, leave it to dry for at least a day. Then take a utility knife and, cutting off pieces of foam, give the mass the intended mountain shape. Cut out crevices, depressions and depressions to make it look more realistic.
Step 5
Then dilute the alabaster with water. Cover the mountain with a 3 mm layer. As this material dries very quickly, dilute it in small portions. After the entire structure is covered, leave it for a few hours until it is completely secured. Use a stone gray primer to paint over the mountain.
Step 6
Rub the mountain with sandpaper to bring the color to life. Paint over some areas with moss color to give them the appearance of greenery growing on the slopes and at the bottom.
Step 7
Next, create landscape elements in the same way, taking into account the various details you have. Arrange toy houses, bridges and trees, make a fake grass.


