Tempera paints combine the properties of oil, acrylic and colored pencils. Each of these qualities must be considered in the work. The top layer of tempera dries very quickly, so you need special precision in applying strokes that resemble pencil strokes. However, all the layers will finally dry out only after months, which means that the selection of the basis for the picture is important.

Instructions
Step 1
Wood works best as a base for egg tempera painting. For the first steps, you can take a small format plywood. If you just want to try paint and are not going to store your work for years, choose canvas or hard cardboard. If the base is untreated, apply gesso primer on it.
Step 2
Sketch your composition. Soft materials (eg coal) are suitable for these purposes. Once you've drawn the outlines, loosen the lines by removing most of the charcoal powder with a nag eraser.
Step 3
The next stage in creating a picture is underpainting. It is made in one color. Take the shade that is in the composition of the color of all objects in the picture. It is best to be guided by the lightest subject, because on it the underpainting will be most noticeable even after the painting is worked out with color. With the chosen shade, designate chiaroscuro throughout the entire space of the picture. It is necessary to change the saturation of the tone depending on the degree of illumination of each object.
Step 4
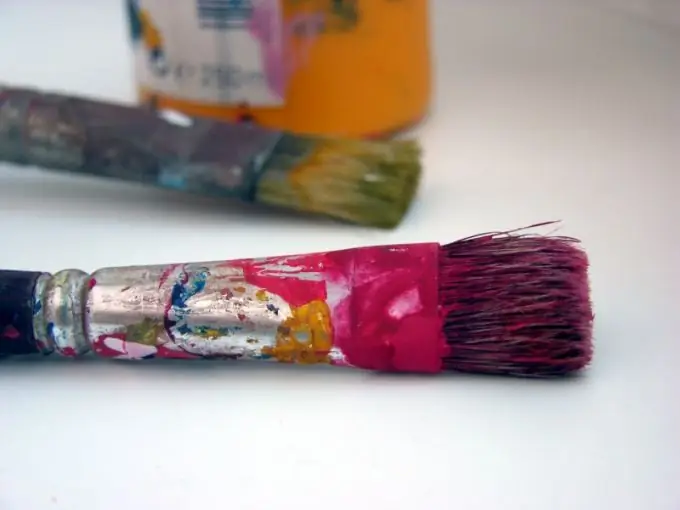
When the previous layer is dry, you can start painting with tempera paints. If you need to fill a fairly large area with one color, use a wide, flat brush. It is better to work with different shades with a thin kolinsky or synthetic brush. After mixing the color on the palette, dip the brush into it, make 2-3 strokes on the draft to remove excess paint. Then apply the color to the canvas. One stroke of the brush should correspond to one stroke that resembles a pencil. Since the top layer of paint dries very quickly, it will not work to "stretch" the stroke over a large surface.
Step 5
Cover the painting with a net of fine lines. Their direction should correspond to the shape of the object. For a tight bottom cover, a crisscrossing grid can be made. Use brushes of different thickness to match the line size to the scale of the object and its location on the sheet - the closer the object, the thinner the stroke.
Step 6
Tempera applied to the previous one will not mix with it. It will create a new hue or enhance the saturation of the first layer of paint. The search for the desired shade should take place on the palette, not on the canvas. In the picture, you can create the illusion of mixing colors by applying strokes of different shades side by side. However, this requires considerable experience with tempera.
Step 7
The most illuminated areas of the picture can be lightened with very thin strokes of white, superimposed over the main color.


