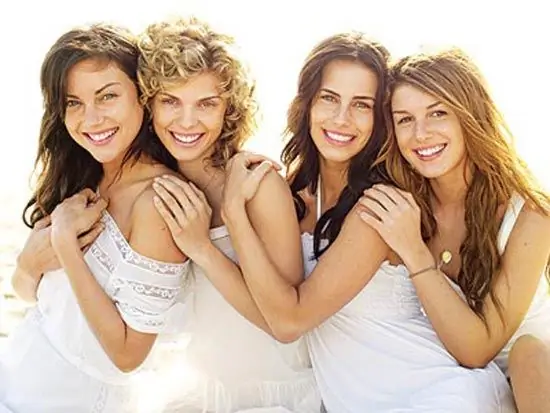
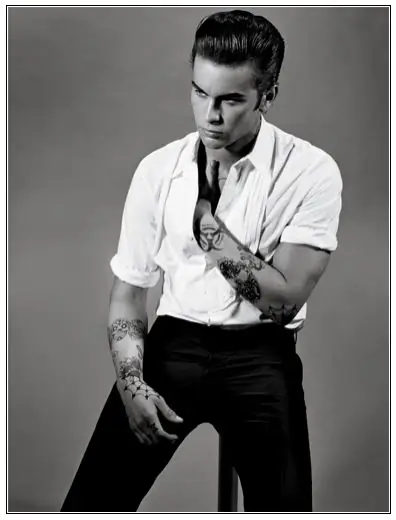
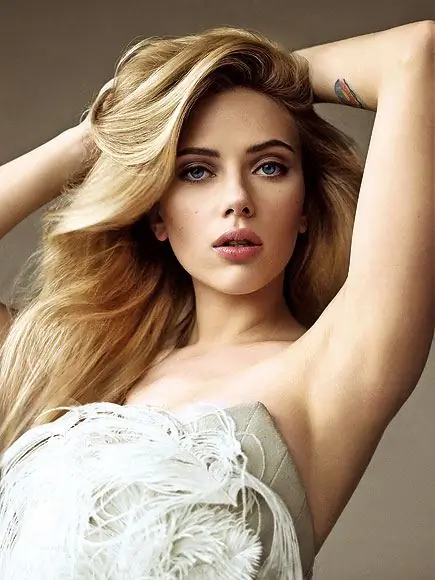
Photogenicity is the property of people to look better in photography than in life. It depends not so much on beauty as on the expressiveness of facial features.
Good photography also takes a little bit of acting. Then the picture is not static, but "live" and "talking".
A photogenic person knows how to play this or that emotion in front of the camera, like an actor, so photographers recommend turning away from the camera, coming up with an emotion, focusing on it, and then turning around for a photo.

Instructions
Step 1
Favorable angle
Practice different poses, facial expressions in front of the mirror and remember the most advantageous ones. And then just take pictures.
Photographers consider the half-turn angle to be the safest. For those with a round face, it is generally the only possible one.
Do not agree to shoot in direct sunlight and when the light falls from the side - such lighting will highlight all the imperfections and unevenness of the skin.

Step 2
Makeup
Even if in ordinary life you hardly ever put on makeup, for filming it is imperative to apply full-fledged makeup, but it is important not to overdo it.
Need to:
For a photo, it is better to focus on the eyes, using matte, not too bright tones, with dark emphasis only on the outer corners of the eyes and eyelashes.
Be sure to apply foundation on your neck so that it does not differ in color from your face.
Change the shape of the nose a little. Take a beige / brown blush and apply it to the wings of the nose to "narrow" it, or to the tip to "shorten" it. The same blush will help and accentuate the cheekbones.
It is better for blondes to do makeup in light colors for responsible photos.
You can't:
Lip gloss and hairspray look ridiculous in photos.
Remember that light lipstick visually enlarges the lips, while dark lipstick makes it smaller. It is better to refuse lip contour altogether. It looks too harsh compared to the lipstick tone.
Eyes with pearlescent shadows turn out badly in the photo, especially in blue-green tones. It is better to choose matte shades of pastel shades: mother-of-pearl can give unnecessary glare.
Don't forget: the bright colors in the photo will be even brighter, and instead of the face in the photo you may see a painted mask.
Step 3
Photogenic clothing
In the photo, a person looks 10 pounds more fat, so you need to choose clothes for filming in such a way that it does not add mass to your body. Avoid contrasts (black and white suits are not suitable for color photography), rather use clothes in warm colors.
For fair-skinned people, this is not advice, but a rule. Against the background of bright acid colors, they look painfully pale. Green color strongly sets off the face, think about whether you need it.
Dark blue, beige and black can be considered universal tones for any photo.
Want to look younger in the picture? Wear sporty clothing. A large amount of detail in clothes adds years.

Step 4
Perfect look
Try to look not into the camera lens while shooting, but a little higher than it - this "angle of view" suits most women. Or use this technique: look to the side or lower your gaze to the floor, and at the command of the photographer, move it to the camera. The photo will turn out expressive.
Step 5
Red Carpet Pose
If you are taking a full-length photo, use the red carpet pose. This is how celebrities are filmed at social events. Rotate your body three quarters towards the camera, one shoulder closer to the photographer. Place one leg slightly forward and transfer your weight to the back leg. And do not forget to smile charmingly at the same time.


