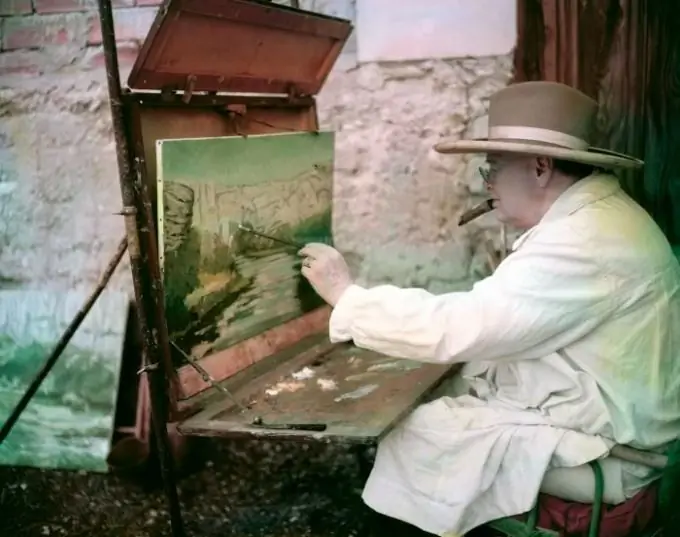
Everyone can learn to draw beautifully and realistically - not only talent is important in the ability to draw, but also the efforts that you make and, of course, constant training and exercises that improve your drawing technique. You can learn how to draw beautiful still lifes using the technique of Dutch writing, and as an example, use any artistic still life photograph that will play the role of nature.

Instructions
Step 1
Start by applying an underpainting to the canvas - with underpainting you will outline the main outlines of objects, set the zones of light and shadow, outline the volume. Color the shadows with warm shades, and the illuminated areas with cold ones.
Step 2
Paint underpainting with translucent paints in different shades of brown, such as burnt umber or natural umber. Choose a lighter or darker paint, depending on the overall color of the painting. You can do underpainting with oil paints, tempera, and even watercolors.
Step 3
Working with oils is more difficult, so if you paint underpainting with oil paints, do it in several stages, drying each layer from the painted ones. It is best to use acrylic or tempera for underpainting - it gives the same depth effect as oil, but dries much faster and is easier to work with.
Step 4
When the underpainting is ready, cover it with retouching varnish to make the drawing more transparent, and then move on to the corpus stage. At this stage, you give your drawing density and opacity, draw more clearly the areas of light and shadow, and make the image more embossed.
Step 5
Draw the texture of the surfaces of your painting. At this stage, you can start working with colored paints, but some masters recommend using only white or only shades of one color, which is most often used in a painting - for example, red.
Step 6
Paint in lighting and highlights, making smooth transitions from light to shadow, and then start painting with colored paints, tracing other objects of the still life. Create the effect of a glass surface by adding glowing edges and highlights to the glass with white.
Step 7
The last stage of drawing in this technique is glazing, in which you achieve the display of the most subtle color nuances. Glaze in multiple layers, adding depth of color with each new layer.
Step 8
Write in more detail the secondary fragments of the photo, work out the foreground and background, using transparent and translucent paints, diluted with retouch varnish and linseed oil. On the last glaze layer, write down the finest elements of the picture. At this stage, the drawing acquires the greatest realism, and small details are detailed and become more voluminous.


