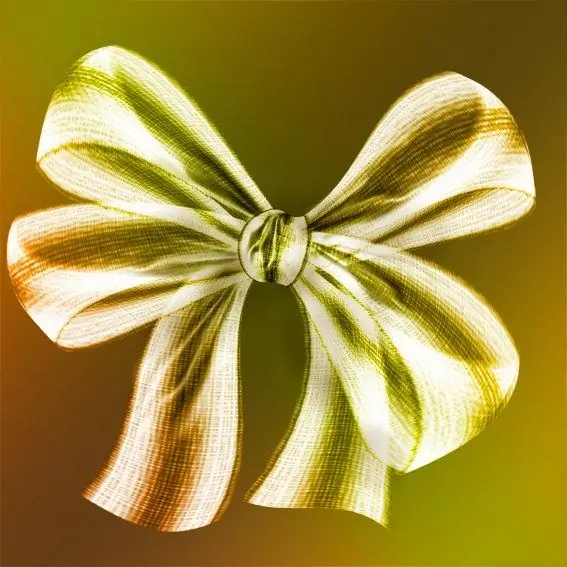
The ability to draw different ribbons and bows can be a very useful skill. Most often it is necessary when drawing elegant dolls and princesses. Also, without ribbons, heraldic themes are unthinkable - coats of arms, orders, medals, honorary diplomas and certificates. Most often, shiny satin ribbons are depicted, tied with a bow or freely fluttering. Ribbons can be one-color or multi-colored (most often three colors are used, which carry a special symbolic meaning).

It is necessary
- - drawing paper;
- - pencil;
- - eraser;
- - crayons / paints and a paintbrush.
Instructions
Step 1
A free flowing ribbon is depicted as follows. First draw a wavy line - it can be arbitrary, but you should initially have an idea of how the ribbon will be located in your drawing. The drawn line should convey the movement of the ribbon.
Step 2
Then, draw a second line, parallel to the first, at a distance equal to the width of the ribbon. Usually tricolor ribbons are quite wide. Repeat the movement of the first line completely.
Step 3
In places where the lines make turns, simulating the bends of the tape, connect the wavy lines with straight lines perpendicular to them. At the ends of the tape, these connecting segments may not be perpendicular, but go at an angle of 45 degrees, or even be V-shaped, as sometimes the ends of the ribbons are cut.
Step 4
Gently erase the lines that are on the overlapping sections of the tape with the eraser. Tuck the ends of the ribbon to give it a slight natural curve.
Step 5
Start drawing the ribbon tied into a bow with a knot - a rectangle, which needs to be given an uneven soft shape. Draw bow wings on the sides of the knot, drawn on the basis of simpler shapes - triangles, the corners of which also need to be strongly rounded.
Step 6
Draw a soft bend in the ribbon, show the depth and volume of the bow's wings. In the center, close to the knot, the ribbon is very squeezed, so draw lines radiating from the knot to represent the folds. A bow may have several wings - such a bow will resemble a lush flower.
Step 7
Below the knot, draw the hanging ends of the ribbon, which can also be straight, beveled, or V-shaped. Draw the same folds as on the wings.
Step 8
When painting the ribbon, keep in mind that it should have a satin sheen. You can add it with sharp highlights - highly lightened areas. The highlights are located on the foreground bends of the tape.
Step 9
Conversely, the portions of the tape located behind or inside the curved sections need to be darkened. Shade also the folds of the ribbon tied with a bow. Apply pencil strokes or paint strokes in the shape of the ribbon, making smooth transitions from light to dark. Leave white paper in areas of glare.
Step 10
To color a tricolor ribbon, divide it into three widths. Draw two lines along the entire tape parallel to its top edge. When coloring, do not forget about highlights and shadows for each color, but at the same time preserve the integrity of the entire ribbon.


