It is quite possible to print and develop photographs at home. For those who are fond of black and white photography, this process will be much cheaper if you do everything yourself. In addition, you can influence all the parameters of the resulting photo, while in the darkroom, the master will do everything the way he likes.

It is necessary
photographic enlarger, time relay, photographic paper, reagents: developer and fixer for paper, stop bath, rinsing water, gloss, red lamp, framing frame, cuvettes (baths) for solutions, tweezers
Instructions
Step 1
Choice of photo paper. Photo paper can be normal, soft, semi-soft, contrasting and extra contrasting. For good film, it is best to use normal photo paper. In general, most photographs are printed on normal photo paper, other types of paper are required much less frequently.
Step 2
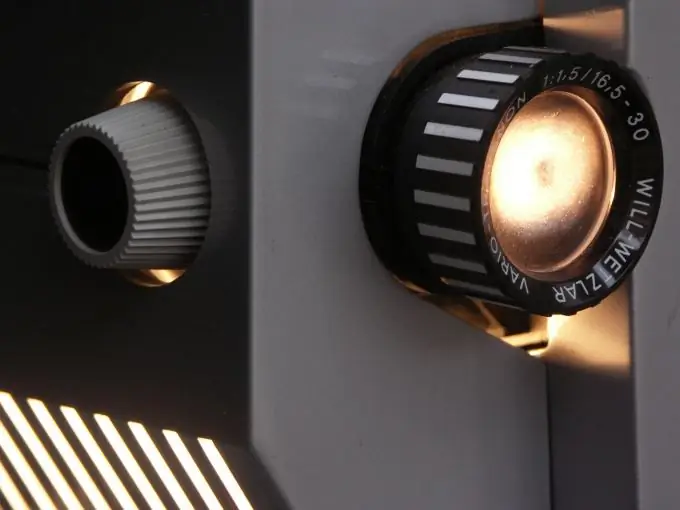
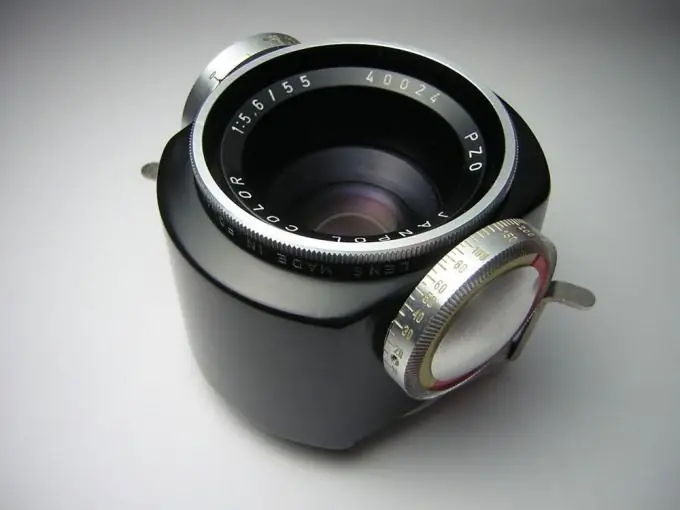
Photo enlarger. If you don't find an old photo enlarger at home, you can ask your friends and acquaintances, look in thrift stores and flea markets. You can find a pretty good Soviet photographic enlarger quite cheaply. For 35mm film, a good option is "Leningrad", for 120 - "Neva" or "Crocus". More expensive enlargers are often bulky and less suitable for beginners.
Step 3
Site preparation. The place for photo printing should be dark, but such that you can comfortably accommodate, put an enlarger, cuvettes, gloss, time relay. There should be electrical outlets for lamps, gloss and time switches.
Step 4
Having installed a photo enlarger and having prepared all the necessary reagents and devices, you can start. Remove dust from the film and insert into the enlarger. The first step is to adjust it for sharpness. Typically, the magnifier is focused by fully opening the lens aperture. Then, covering the aperture, the exposure and contrast of the paper are selected. For this, pieces of photographic paper are taken and prints of the darkest and lightest parts of the frame are made on them for testing. To match the contrast of the paper, with the same settings, try developing test pieces with different types of paper. When the proof prints are received, to evaluate them, go out into a room with normal light, since with a red light it will not be possible to see them clearly.

Step 5
Processing prints or test pieces in photochemistry. To get the pictures themselves, the paper is first immersed in the developer. The development time is usually 2-2.5 minutes. You should not try to correct exposure errors made at the stage of working with the enlarger by increasing or decreasing the exposure time in the developer, otherwise the picture will turn out to be very contrasting or, conversely, gray. After the developer, take out the photo with tweezers and immerse it for a few seconds in the stop bath, and then in the fixer for 10-15 minutes. After that, the photographs are sent for washing in running water.
Step 6
Flushing. The most convenient thing is to just pour water into the bathroom and immerse the photos there.
Step 7
Drying. The pictures are hung up with clothespins and dried. If the photo paper is intended for glossing, then at this stage you should use a glossy agent.


