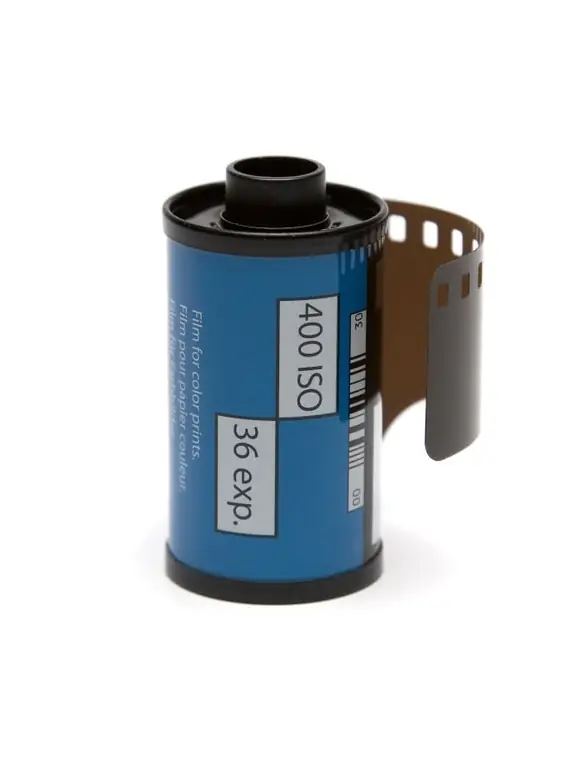
Developing photographic film at home is not difficult at all. It's much easier than learning how to handle photos well in Photoshop. But the film does not forgive negligence: it is worth overexposing it in the solution a little, and the result cannot be corrected, and in Photoshop you can always select “cancel” from the menu. The most important thing when developing photographic film is not to be afraid. Developing at home is fun and easy!

It is necessary
Film, tank, developer, fixer, stop solution, distilled water, thermometer, timer
Instructions
Step 1
The first step is to get everything you need. The developer tank can be looked for on the mezzanine, it must have been lying around, because earlier everyone could develop the film at home by themselves. Many photographers use Soviet tanks, but you can buy an imported tank in a photo store or order on the Internet, it is more expensive, but much more convenient.
Step 2
You will also need photochemistry: developer, fixer, stop solution and distilled water. The developer and fixer for black and white films is available as a powder or pre-diluted concentrate. To dilute or dilute photochemistry, follow the instructions on the jar or bag. It is best to dilute everything with distilled water, which does not contain impurities and salts. But you can also take ordinary tap water, having previously boiled it. You can use very mildly diluted vinegar as a stop bath solution or buy a branded stop bath solution.
Step 3
Now for the fun part: the development process. You need to close yourself in a bathroom or other dark room with access to water, warn everyone in your home not to think about turning on the light. Before developing, all photo-solutions should be brought to the required temperature. In complete darkness, unwind the film from the cassette and insert it into the tank. In order not to get confused with this, it is best to practice in advance in the light with unnecessary film. After loading the film, fill in the developer.
Step 4
During development, the tank must be scrolled clockwise once a minute. After maintaining the required time, the developer must be drained and the stop solution poured in so that the development process stops. Development time is the most important parameter to be observed. The rest of the steps are forgiving, but not this one.
Step 5
Then drain the stop solution and refill the fixer. It is better to overexpose than underexpose, otherwise the film will darken or become stained over time.
Step 6
After the fixer is drained, it remains to rinse the film with distilled water and hang to dry. The fixative can be drained and flushed with the lights on.


