Are you going to make a hand-made postcard with spring flowers for a loved one, but do not know how to draw tulips? Thanks to step-by-step recommendations, you will be able to make an original present with your own hands in just half an hour.
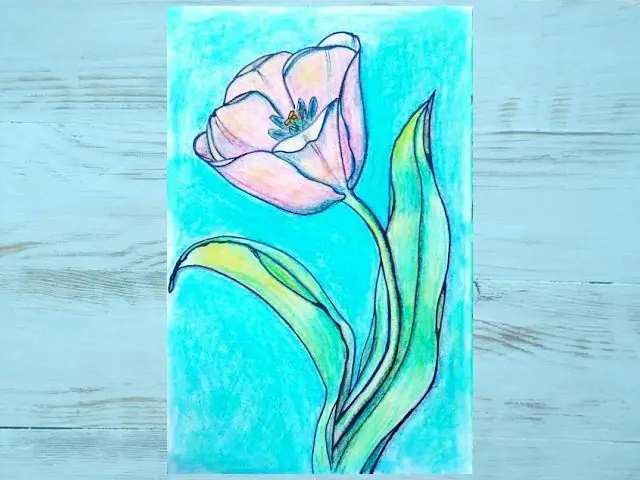
It is necessary
- - landscape sheet of paper;
- - pencil and eraser;
- - colored pencils, pastels or paints to choose from.
Instructions
Step 1
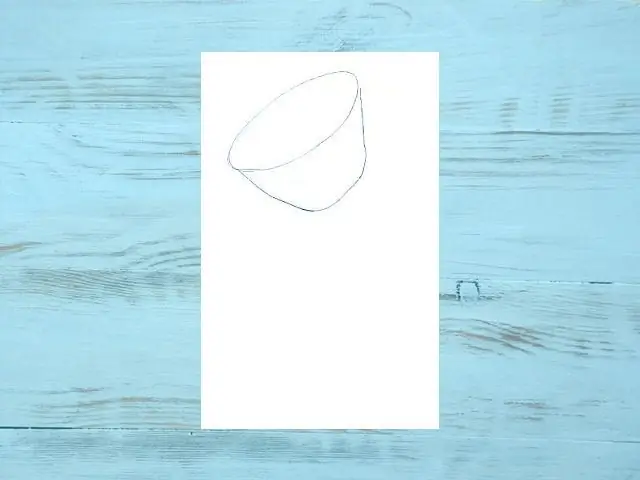
Fold a piece of paper in half and unfold it vertically. It is most convenient to start drawing a tulip on a greeting card with a whisk. Mark on the paper a large cup tilted to the left. These lines will help you position the flower petals correctly and quickly, so don't press hard on the pencil.
Step 2
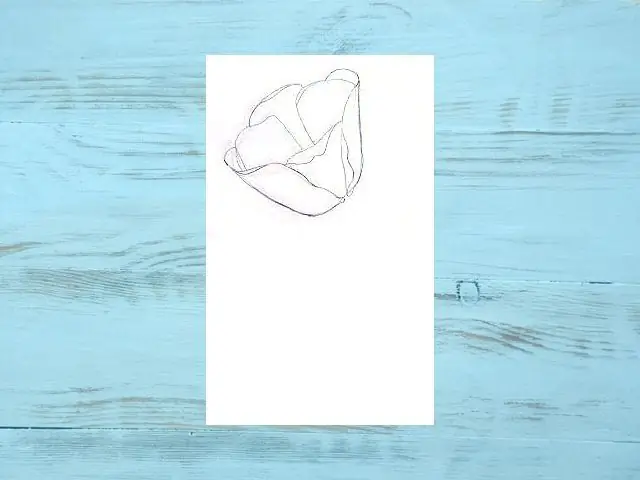
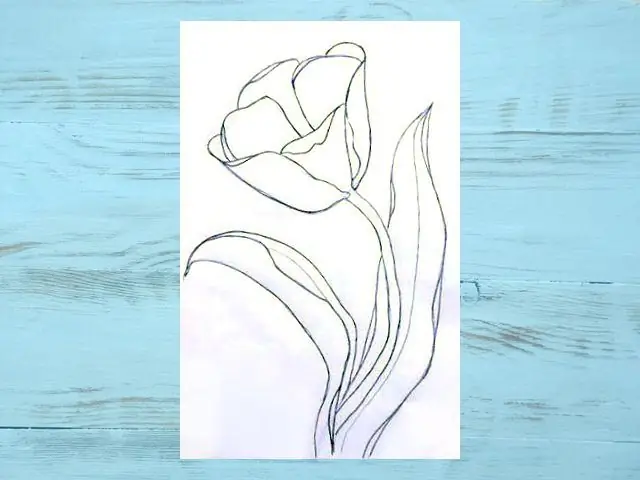
Draw six petals, not afraid to overlap one another, as in the photo with the reference. To draw a tulip with expanding petals, you can give them a slight curve using wavy lines at the very tips.
Step 3
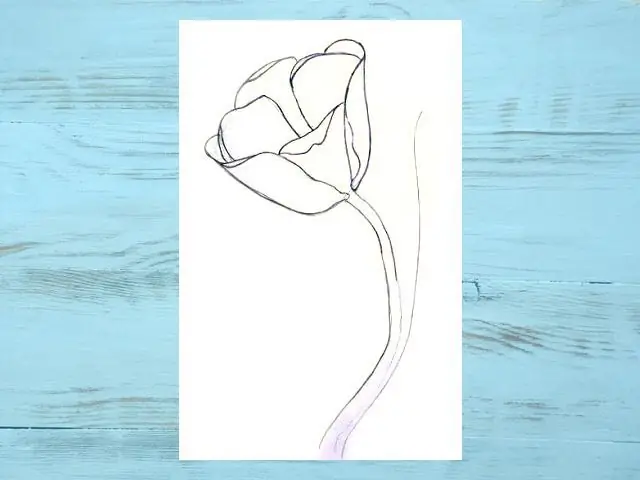
Erase all unnecessary contours and proceed to the stem. Make the stem slightly curved to make the flower look more realistic.
Step 4
Arrange the leaves as shown in the reference photo, trying to keep the silhouette smooth. Don't forget about curved edges, which are easy to create with a wavy outline.
Step 5
Start drawing the details of the tulip. To do this, mark a pistil in the center of the flower, which consists of three small petals, and place oval stamens around it. Apply lightly visible strokes to the tulip petals and draw veins on the leaves. Take crayons, pastels, felt-tip pens or watercolors and bring your drawing to life without forgetting the background.


