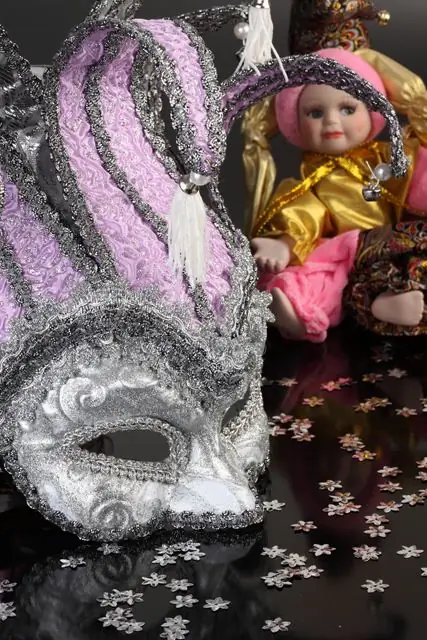
Papier-mâché is a versatile material that can be used to make almost anything - from pencil cups to furniture. For fans of unusual accessories and mysterious images, this technique will come in handy when making masks.

It is necessary
Sculptural plasticine, paper, gauze, PVA glue, acrylic paints, brush
Instructions
Step 1
Make the base for the mask. It should follow the shape of your face. For this, it is most convenient to use sculptural plasticine. Knead it in your hands and roll it into a "pancake". Apply it over your face and use your fingers to sculpt it to match the outline of the face, paying particular attention to the area around the nose and on the cheekbones. Determine the size of the open area around the eyes.
Step 2
Remove the plasticine template and place it on a flat surface. Tear the papier-mâché paper into pieces of about 1.5X1.5 cm. The paper should be thin and moderately loose. Previously, newsprint was best suited for this purpose, but now the press is printed on fairly thick paper. Therefore, oddly enough, toilet paper is the ideal material. Prepare some craft paper to seal the product.
Step 3
Soak a piece of paper in a weak solution of PVA and water, cover it with one layer of the surface of the mask's plasticine base. Try to cover the entire surface evenly. Lubricate this layer with clean PVA glue and glue it over with a second layer of paper.
Step 4
Continue to lay out the paper, making sure that the shape repeats accurately. In this case, every 2-3 layers can be treated with water or all layers, without exception, can be lubricated only with glue.
Step 5
Lay out the fifth layer of the mask with a layer of gauze, which will help to keep the shape of the product. Add two layers of paper, and then glue the mask with pieces of craft.
Step 6
Lay out the last layer of papier-mâché with white paper, so that later it will be easier to paint.
Step 7
When the mask is dry (at least 2-3 days should pass), use a simple pencil to outline a drawing on it with which you will decorate your craft. Paint the mask along the contours with acrylic paints. It is easier to apply the main color on large areas with a foam sponge, smaller parts - with a thin synthetic brush. Punch holes at the edges of the mask and insert braid or elastic as ties.
Step 8
You can complete the trim with lace, sequins or beads glued with transparent all-purpose glue.


