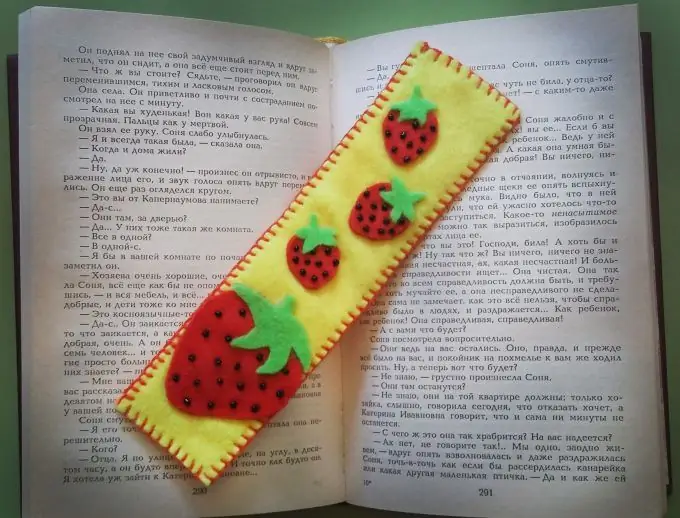
A bookmark for books is a vital thing for all book lovers. Someone specifically buys bookmarks in stationery stores, someone uses everything that comes to hand for this purpose - postcards, receipts, sheets from notebooks. However, many make them with their own hands: firstly, it is always more pleasant to open a book with such a bookmark, secondly, it is a wonderful gift, and thirdly, they are made quite simply, any materials, including felt, will do.
It is necessary
- - felt of different colors, including red and green
- - red thread floss
- - black threads
- - black beads
- - floss needle
- - bead needle
- - Super glue
- - scissors
- - ruler
- - pencil
- - paper
Instructions
Step 1
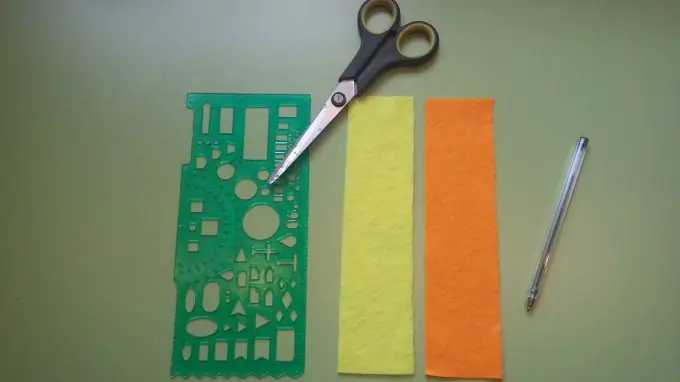
Take sheets of felt in two different colors (in this example, yellow and orange felt are used). Cut strips of 20x5 cm from each sheet. The size of the bookmark can be changed at your discretion, depending on the size of the book.
Step 2
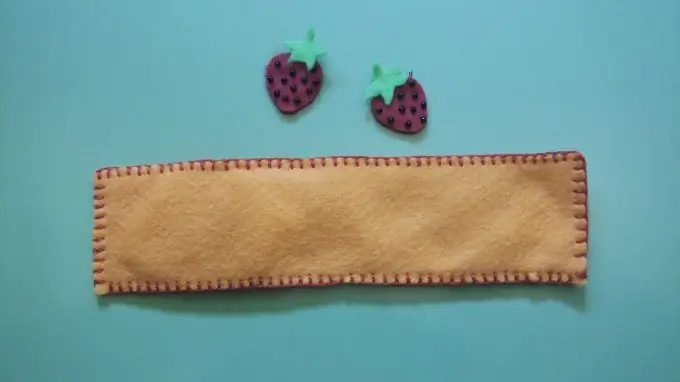
Sew the felt stripes with the red floss with a buttonhole overlock. Such a seam will look spectacular on a future product.
Step 3
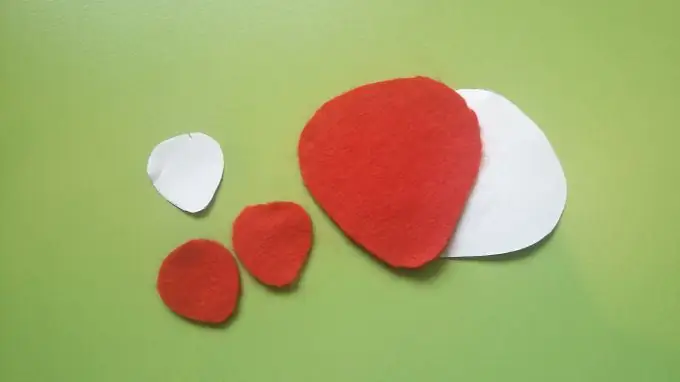
Next, you need to define the picture that will be on your tab. So, in this example, the bookmark will be bright and summer - it shows a strawberry. Now you need to make a pattern for the future drawing. You can find a suitable image on the Internet and print or redraw it. But since it is quite easy to depict strawberries, you can draw it directly on paper with a pencil. First, the berry itself is drawn, and only then, separately from the fruit, the leaves are drawn. Strawberries on a bookmark can be of different sizes, so there will be several patterns. When you cut out the pattern, you can use scissors to correct any imperfections in the pattern.
Step 4
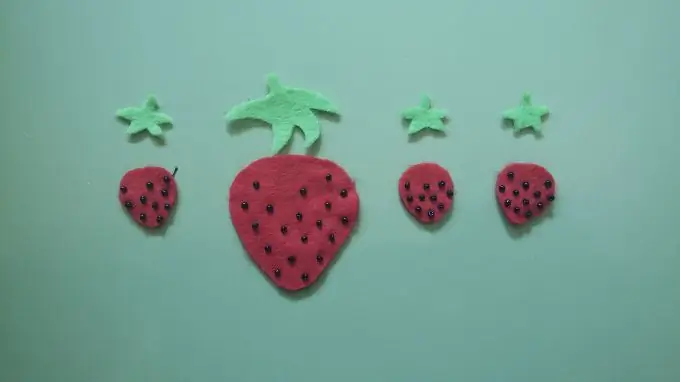
Attach the berry patterns to the red felt and trace with a pencil. If the pencil does not leave marks on the felt, you can use a pen - this will be the wrong side of the drawing, so the black outline will not be visible. Cut out the berries. Make green felt as well.
Step 5
Take black beads, black threads and a suitable needle and sew the "seeds" to the berry. The seeds should be on the side where there are no marks from a pen or pencil. It is best to sew on the beads with a double thread so that it does not break when you use the bookmark.
Step 6
Sketch the composition on your bookmark of berries and leaves, and only then glue the drawing with seconds glue. First, the berries are attached, then the leaves. It is important to be careful not to get any glue on the outside of the design. You can also sew on berries, but since the details are mostly small, it will be more expedient to use glue. If you still want to sew a drawing, then this must be done even before you sewed the sides of the bookmark.
Step 7
After you have glued on the parts, you can gently iron the piece through the fabric. And the bookmark is ready, read with pleasure!


