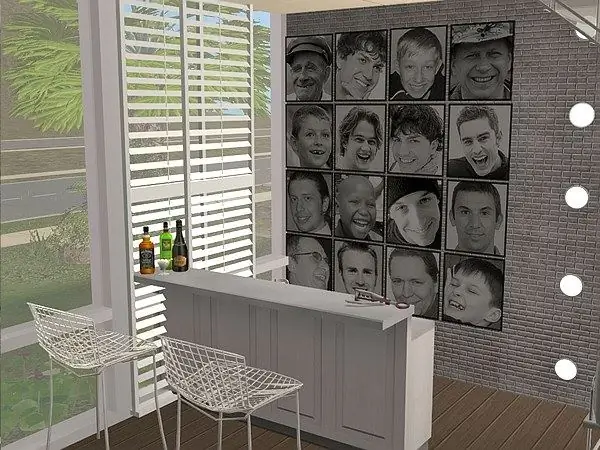
In The Sims 2, the developers provide the ability to add custom content. You can find many interesting and high-quality works on the network, but what if you want to decorate the game with something of your own, more personal, for example, load your favorite photo into the game?

It is necessary
- - the photo;
- - SimPE;
- - Microsoft. NET Framework;
- - graphics editor.
Instructions
Step 1
In order to bring the idea to life, you need SimPE software and a graphics editor. It should also be remembered that SimPE does not work without the Microsoft. NET Framework package. The easiest way to load a photo into the game is to recolor an existing (game) photo or painting. Start SimPE and select the Object Workshop tab. Click on the "Start" button and wait until all objects from the catalog are loaded. In the list that appears, select the "Decorations" section and the "Wall" category.
Step 2
Choose a picture or poster that is suitable in size and proportions to your photo, select it with the left mouse button and click on the "Next" button. In the "Tasks" group, use the drop-down list to set the "Repainting" value. Click on the "Next" or Start button and save your future recolor by giving the file an original name and specifying the desired directory.
Step 3
Go to the Plugin View tab and open the Texture Image (TXTR) resource by left-clicking on it. In the TXTR Editor field, right-click on the texture and select Export from the drop-down menu. Save the image in a directory you can find yourself. Minimize the SimPE program.
Step 4
Launch a graphics editor and open the photo you want to load into the game, as well as the image you just exported. Insert your photo on the texture of the painting, select the desired scale for the photo, without violating the dimensions and proportions of the texture, and save the new image in a separate file (or in the same - it does not matter).
Step 5
Expand SimPE and right-click on the texture in the TXTR Editor field, select Import in the drop-down menu or click on the button of the same name in the program window. Specify the path to the texture you created, it will replace the game one. To keep your photo from changing its view when the camera is zoomed out, right-click on the texture again and select Update all sizes.
Step 6
Make sure the Format field is set to DXT3Format (this will prevent quality loss). Click the Commit button and save the changes made to the file. You don't need to change anything in the Material Override (MMAT) resource. If necessary, you can change the material properties in the Material Definition (TXMT) section, but without special knowledge it is better not to edit it.
Step 7
Place the created package file in the Downloads folder, launch the game and enjoy the result. Remember that there are items in the catalog that cannot be repainted. If you come across just one, the recolor will not be displayed. In this case, just select another object to recolor. Also, do not give your file a too long name - this can also cause the repainting to not appear in the game.


