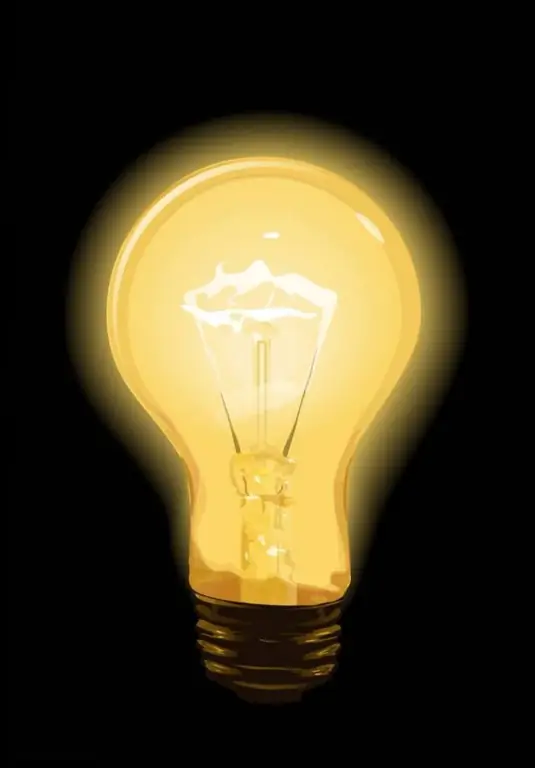
You can draw a light bulb in the style of vector graphics not only in Corel Draw, but also in the free graphics editor Gimp, which supports working with raster images. In order to create a drawing of a light bulb, you will need GIMP installed on your computer and some free time.

Instructions
Step 1
Open GIMP and create a new document of any size. Then create a new transparent layer and select the ruler on the control panel, then, holding down the left mouse button, draw a vertical line in the middle of the field. Now on the toolbar, select the "Elliptical Selection" button and draw a circle, after checking the "Draw from center" option and holding down the Shift key.
Step 2
On each side of the drawn circle, add new vertical guides, counting 80 pixels from the center guide, and then using the Rectangle Selection Tool with the Add To Current Selection mode set, draw a rectangle between the outer guides so that it goes over the circle with its top edge.
Step 3
In the menu, select the "Selection" option and then select the "Feather" item, specifying a value of 100 pixels, then reopen the selection menu and click on the "Remove Feather" button. The outlines of the future light bulb will become smoother and smoother. Now in the same menu select the "Path" option to turn the selection into a path.
Step 4
Now fill the background layer with black, and then make the outline of the future light bulb invisible, and load the selection again to outline the highlights on the glass. Create a new layer, take a large soft brush and set the color to white on the palette. Stroke the edges of the selection with a brush. Remove unnecessary fragments and strokes with a soft eraser.
Step 5
Now in the menu "Selection" choose the option "Decrease Selection", and then click on the elliptical selection tool with the value "Subtract from current". Decrease the selection by 35 px and draw an elongated oval, cutting off most of the previous selection along the longitudinal side. Set the feather to 50 px and then remove the feather and turn the selection back into a path.
Step 6
Convert the path back to a selection and fill it with a gradient with the settings for the transition of the main tone to transparent, from top to bottom. Create a new layer for the glass volume of the light bulb. Using a rounded rectangular selection with a radius of 20, paint a highlight in the middle of the lamp. Click on the "Add to current selection" button and draw another thinner flare, and then draw another flare next to it.
Step 7
Feather the new objects 20 px and remove the feathering. Add some volume to the picture with a soft brush. Use the contour tool to draw a filament wire inside the bulb. Complement the lamp by drawing the base by drawing a rectangle under the bottom edge of the glass piece and adding threads to it on a new layer, creating new guides.


