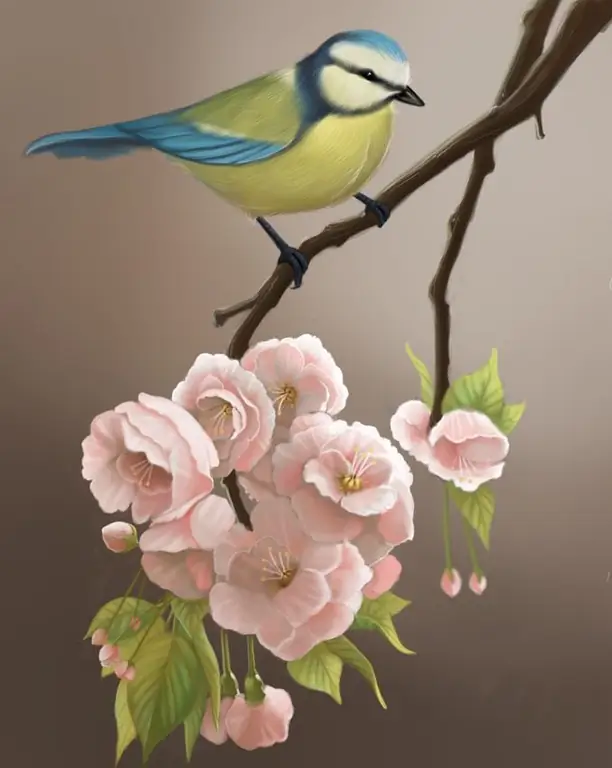
Wildlife provides artists with many sources of inspiration - you can practice your drawing technique by depicting landscapes, animals and birds on paper. If you have never drawn birds, try to draw a tit, which everyone has probably seen, at least once in their life, using pastel graphics.

Instructions
Step 1
You will need pastel crayons of different colors, pastel pencils, special pastel A4 paper in light beige, paper napkins and cotton swabs. A photograph of a real titmouse, which you will use as an example, will also help you in drawing. On a separate sheet of paper, use a pencil to sketch the future drawing, referring to the photo, and then transfer the sketch to paper for drawing with a white pastel pencil.
Step 2
Around the contour of the future titmouse, apply in a circular motion the basic shades of the background - for example, green and orange, using pastel crayons laid on the edge. Rub the background, smoothing out the transitions between colors and leaving the bottom right corner unpainted.
Step 3
Start drawing the bird from the beak. Paint over the beak with brown and black pastel pencils, and make a white highlight on the tip of the beak for volume. Shade the inner part of the beak with burgundy, and the lower part with blue. Apply a basic tone of dark blue or black pastels on the titmouse's head, blend it, and then go over the dark tone with a white pencil to make the surface textured.
Step 4
At the bridge of the nose, draw black eyebrows for the bird and highlight some of the feathers with a white pencil. Draw small feathers with white and black pencils on the main tone. Detail the round eye of the titmouse - to do this, paint the circle with a light brown color, draw a black pupil in the center, and darken the eye with a dark brown color from the edges to the center.
Step 5
Shade the upper part of the iris, add a couple of white highlights for volume and realism. Outline the eye with a thin white line. Continue drawing the cheeks and neck of the bird, making a smooth transition between the head and neck using even strokes in the direction of feather growth. At the junction of the head and neck, overlap one color with the other. Detail the small feathers.
Step 6
Tint the back of the tit with light yellow pastels, then cover it with dark yellow and work on the removed wing with black, dark brown and blue pastels. Finish the texture of the back with small brown strokes.
Step 7
Feather the hatching and shade some areas. Draw the front wing, tracing the top feathers with a white line at the ends, and on the flight feathers draw a light yellow vein along the edge of the feather. Draw small light blue feathers at the base of the wing, and then shade the yellow feathers under the wing.
Step 8
Darken the background near the feathers slightly to create contrast with the white edges of the wings, and then draw the titmouse's tail, which has the same white edging. The tail itself has a light blue hue, as well as black and dark brown, like the wings. Color the poultry breast with a light yellow color.
Step 9
Add shadows for the wings, paint down feathers, and then paint a twig with light brown, black and yellow pastels. On top of the branch, draw paws using a black outline and a white pencil that creates volume. Add light yellow reflections to the drawing, blend sharp color transitions and paint the background. Fix the finished picture with varnish.


