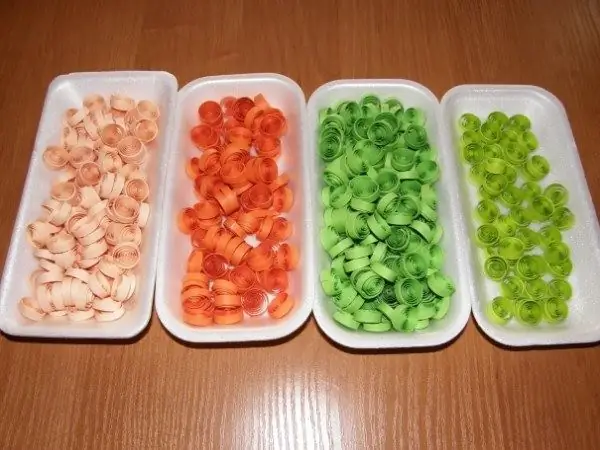
Quilling is the art of paper rolling, it originated in Europe in the late 14th - early 15th centuries. The nuns of that time created medallions by rolling paper onto the end of a feather. Although paper-rolling spread rather quickly throughout Europe, it was only available to high-society ladies from wealthy families, since high-quality colored paper was a very expensive material.

Quilling is the art of making three-dimensional or flat compositions obtained from spirals glued together. The technology allows you to get flowers, leaves, various lace ornaments, which can be glued to the base or become an independent product.
Preparation of materials and tools
In order to make a panel with forget-me-nots located on it, made using the quilling technique, you will need: scissors, paper of various shades, PVA and toothpicks.
Quilling technique
For one forget-me-not flower, it will be necessary to prepare 5 long and narrow strips of blue, each of which will have to be wound on a toothpick and dissolved to a diameter that will determine the size of the petals. As soon as the roll obtained from the strip reaches the desired size, its end can be reinforced with glue so that it does not bloom again.
Now you can start making the core, for it you need to use yellow paper, from which you should cut 2 strips, the width of which will be equal to the width of the previous 5. From the first strip, you need to twist a spiral, strengthening the tip with glue and leaving it tight. The second strip should be cut into 5 equal parts and give each of them the shape of the letter G. L-shaped legs should be glued to the central roll at an equal distance from each other, they should give a tight spiral the shape of a sun with rays.
Now you can start assembling the bud, for this you need to glue the central element with five rolls, placing them between the beams. Then you can start making other forget-me-nots, which will be made in other shades.
In order to make leaves for buds, you should cut 4 green strips, the width of which will be equal to the width of the previous ones. If you want to make a multi-level composition, then the width of the stripes for the leaves can be adjusted. Rolls should be made of all the blanks, which then need to be removed from the toothpick and dissolve a little. One pair of rolls should turn into "droplets", the other - into "crescents". To create drops, the loosened roll must be pinched from opposite ends with your fingers; to obtain crescents, the pinches should be made somewhat closer to each other so that one side of the workpiece is almost flat and the other convex.
Now you can connect the petal elements together. To do this, the crescents must be glued to each other with flat sides, and the drops must be strengthened from below so that the crescents enter halfway between them. Finished leaves and buds can be strengthened on the base with glue.


