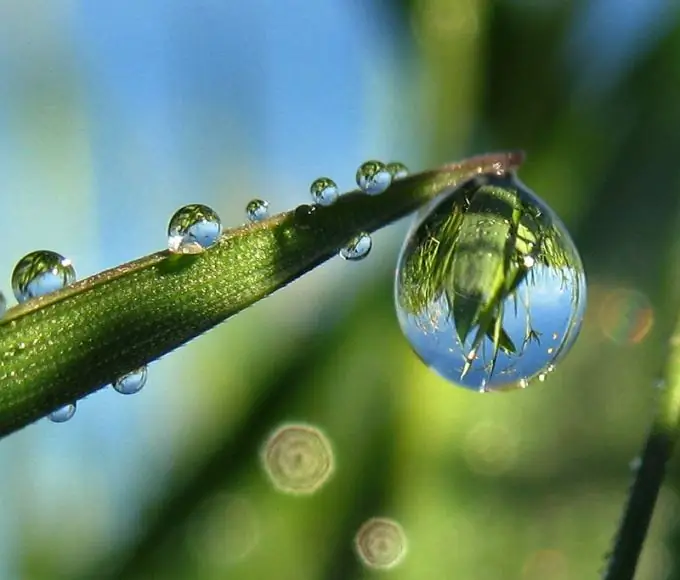
Before drawing the drops in watercolors, you should sketch them with a simple pencil. Please note that the ideal circle shape cannot be achieved, otherwise the drops will be unrealistic and similar to one another. In nature, however, this does not happen. The shape of the drops depends on how they lie, from what angle they are viewed (top view, side view, just before the drop falls).

Instructions
Step 1
To draw the drop at the selected position, use a foreground color for the background - for example, green, pink, or blue. Now take some watercolor of the chosen color and paint over the background as well as the blob itself.
Step 2
Then continue working with the selected color and use it to paint a shadow under the drop. You should start by applying darker tones, smoothly moving to lighter ones. Try shading into a crescent shape.
Step 3
Now, using the same color, add a shadow inside the drop. This shadow should be located on the opposite side of the shadow being applied under the drop. If you cannot make a smooth transition of color in one motion, do it in parts.
Step 4
To make the drop more realistic, you should continue to work with the shadow inside the drop. Now add a blue tint (or turquoise) to the drop. Next, add the same color to the shadow below the drop itself.
Step 5
Take a brown color, select the bottom outline of the drop, while trying to achieve a beautiful contrast.
Step 6
Now add highlights to your blob using white watercolor, as it blends well with white acrylic (needed for the finishing touches). Lighten the lower part of the drop a little, add volume, add some small white reflexes to the dark parts of the drop.
Step 7
Next, use acrylic paint to contrast the bottom contour of your drop, as well as a glare on it. You can also apply a bit of light gray around the drop to add depth.


