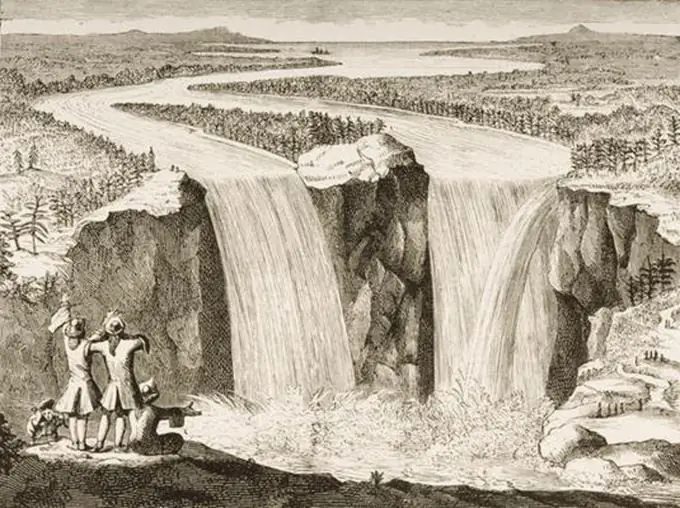
A landscape in which there would be no water at all is not so often seen. The sea, river, stream, dewdrops on the leaves, rain - all this requires the ability to portray water in one form or another. Even a very inexperienced artist can use paints to designate water, at least conditionally, because the field is not aquamarine, and the dewdrops are always slightly lighter than the main background of the sheet and you can convey shine with a white speck. But what if you have only a simple pencil in your hands?

It is necessary
- - paper;
- - simple pencils;
- - landscapes with reservoirs.
Instructions
Step 1
First of all, decide what kind of water you want to draw. The position of the sheet and your further actions will depend on this. Sketch the horizon line if you are drawing the sea. If you are going to depict a small lake or pond, then draw the lines of the banks. Draw the coast that is closer to you with more pressure, and the opposite one with a lighter line. Mark the river with the lines of the banks. Observe the laws of perspective - even if the river is the same throughout the depicted area, it will still appear wider next to you than in the distance. If the river flows on a plain, at the horizon line, both bank lines converge to almost one point. When drawing a fountain, you must first outline its contours, and when drawing a waterfall - the general shape. Draw small ovals on the leaves, with the side adjacent to the leaf flatter.
Step 2
Look at the surface of the reservoir. Even if there is no wind at all, this surface is never even. This can be seen especially clearly on the sea or a large lake. The surface is completely covered with waves. Draw a long, horizontal, wavy line that separates the sea or lake from the shore. With the same, but shorter lines, you can draw all other waves. But pay attention to the fact that near the coast the distance between the waves is much greater than at the horizon, and the waves themselves are clearly visible and even have a certain shape. Draw a series of long, wavy lines parallel to the shoreline. They are located at some distance from the coast, and represent a single line, but broken in several places.
Step 3
Draw the next wave line, making the distance slightly less than that between the coastline and the first wave line. The gaps between the lines in the same row can be in different places, but you should not make them so that they were a continuation of the gaps in the previous line. In addition, the waves in the second row have a slightly less curvature than in the first.
Step 4
Draw the rest of the rows of waves in the same way, gradually decreasing their curvature and the distance between the rows. At the horizon, these will be almost straight lines, the rows of which are located quite close to each other. The same pattern should be observed when drawing a lake. The waves that are closer to you are steeper, and the distance between them is quite large. At the opposite shore, their rows almost merge, and the waves themselves seem almost flat.
Step 5
If you are drawing a river, the first step is to mark the direction of its flow. To do this, draw a wavy line parallel to the coastlines and located approximately in the middle. Parallel to it, closer to the viewer, draw 2-3 shorter wavy lines. Draw the same wavy lines in the direction of the current along the entire length of the river. Pay attention to the fact that closer to you the distance between them seems to be greater, and the further, the lines should be shorter and closer to each other.
Step 6
The waterfall is drawn in much the same way as the river. Mark the top line of the waterfall with a horizontal or slightly slanted line. Mark with vertical lines the side borders of the waterfall and with a barely noticeable horizontal line - its lower border. Find approximately the middle of the upper border of the waterfall, mark it with a dot. Draw a perpendicular up and connect the resulting point with arcs to the upper points of the side boundaries. Side borders can be drawn in different ways. It can be wavy lines, or you can make curls directed in different directions. From the highest point, draw several diverging wavy lines down. The steeper the waterfall, the more curvature of the lines. At the bottom, indicate the further direction of movement of the water, continuing into each vertical line horizontal or inclined.
Step 7
In order to draw dew drops on the leaves, first draw the leaves themselves and shade them. Draw small ovals where the bottom side is flatter than the top. Shade the ovals in a circular motion with sparse shading so that the shading of the leaf is visible.


