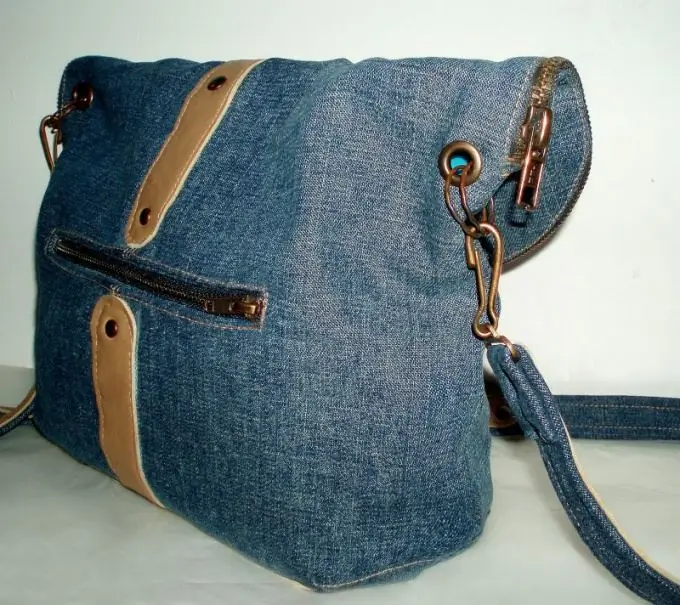
You have to get rid of old clothes periodically. But out of fashion jackets, coats, jeans do not have to be thrown away. Many old things can be given a second life by making something interesting out of them. If you're just getting started with handicrafts, start with a bag.

What to sew from
It is not necessary to specially buy fabric for the bag - of course, if you are not going to sew one that would fit a certain dress or coat. A jacket made of calendered nylon or lavsan, a bologna raincoat will suit you. The bag can be sewn from both denim and leatherette. It is not worth starting to master the basics of needlework with sewing leather products, working with this material has its own subtleties. Prepare your fabric. Open the garment, remove the threads, wash the pieces and iron if necessary. You will also need a cord of a suitable color, eyelets, a press for eyelets. However, eyelets can also be inserted in a special workshop, this service is quite cheap.
Patterns
The bag is sewn from two parts - the bottom and the sidewall, which is a very wide strip sewn into a ring. Decide on the dimensions and draw a circle on the paper. Measure its length (for example, with a measuring tape placed on the edge). Draw a rectangle, the length of which is equal to the resulting measurement with the added allowances for the seams, and the width is the height of the bag, to which you need to add allowances of 1 cm on one side and 3 cm on the other. The rectangle can also be drawn directly onto the fabric.
Cut open
Trace the circle, add a 1 cm allowance and cut out the part. If the fabric is soft, the bottom can be made of two layers, or even insert a spacer made of cardboard, sheet synthetic winterizer, etc. between them. The bottom can also be reinforced with adhesive interlining. Some fabrics (for example, calendered nylon or lavsan) are more convenient to cut not with scissors, but with a soldering iron or a burner. In this case, the media will not be shaggy and you will not need to overcast the seams. Circle the rectangle, adding 1cm allowances on the short sides.
Assembly
It will be more convenient to sew the details if you prepare them in advance. It is better to hem the top of the future bag right away, bending the long cut to 0, 5 and 2, 5 cm. You can hem it with a decorative stitch. If there will be decorations on the bag (embroidery, a pattern of beads or beads, applique, etc.), they must be done before assembly. Sew the strip into a ring. Fold the parts of the double bottom with the wrong sides to each other, inserting a gasket between them. Sew the part along the contour with a basting seam, short stitches. Turn the side inside out. Baste it to the bottom so that the parts touch the right sides, and then stitch it neatly. Turn the bag inside out. Insert the eyelets, thread the cord, and tie it in a knot. If there is no suitable cord, sew it from a strip of the same fabric. You can also weave it from thick threads.


