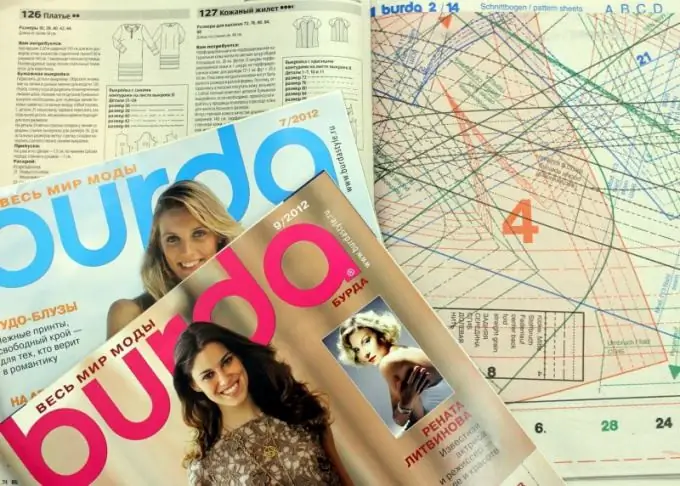
The Burda Moden magazine describes the procedure in sufficient detail. In the center of each magazine are patterns and detailed black-and-white instructions on newsprint. Leafing through the magazine, please note that each model has a number and brand sizes.

Get the right size
Choose a model for sewing and determine your size according to the table in the "Instructions". In the pictures you can see in detail how to take measurements. With a non-standard figure for choosing a size, the main measurement is the hip girth for skirts and trousers, the chest girth for blouses, dresses and jackets. If the model is very tight-fitting - for example, a dress, be guided by the main measurement (bust). And correct the circumference of the hips when removing the pattern.
All tips are in one rectangle
In the section of instructions "Current fashion" by number, find a description of the sewing of your model. Please note: the number of circles next to the number indicates the steppe of sewing difficulty. In the instructions, you will see a model, under the graphic image (front and back views) of which there is a rectangle with information for making a pattern. It indicates the sheet on which your pattern is located (denoted by German capital letters), the color of its outline and a graphic representation of the outline itself (determined by size).
In the information rectangle, all the details of the pattern are also shown and numbered with all the marks applied to them. When resizing patterns, you need to carefully check these small patterns. All lobes, darts, lines for fitting, bending, stitching in zippers, etc. should be displayed exactly on the paper pattern. The small numbers in the corners are the connection marks. When sewing, the numbers of the same name will need to be combined.
Prepare your table. Better - the floor
The pattern is best drawn on a large dining table. Or on a hard floor. Prepare tracing paper or carbon paper, tailor's pins, paper clips, scissors, pencil, chalk, bright felt-tip pen, transfer wheel.
Lay out your found sheet of patterns, pin the transparent tracing paper on top with tailor's pins and paper clips. To find the details of your pattern, look at the bold colored numbers along the edge of the sheet. If from such a number of a certain color you draw a perpendicular to the center of the sheet relative to its edge, then you will intersect just the part of the desired number.
Use a felt-tip pen to transfer all the details from the magazine pattern to the tracing paper. Check again that the reshaped patterns match the thumbnails in the description box. In the center of each resized part, write its name and number.
If the pattern needs to be adjusted by 1-2 sizes in some area - see how and with what interval the pattern alternately changes for a number of sizes. In the same proportions, make changes to the desired part.
Carefully cut out the pattern from the tracing paper. To keep it in your home archives, you can also glue a paper envelope with a picture and description of your model.


