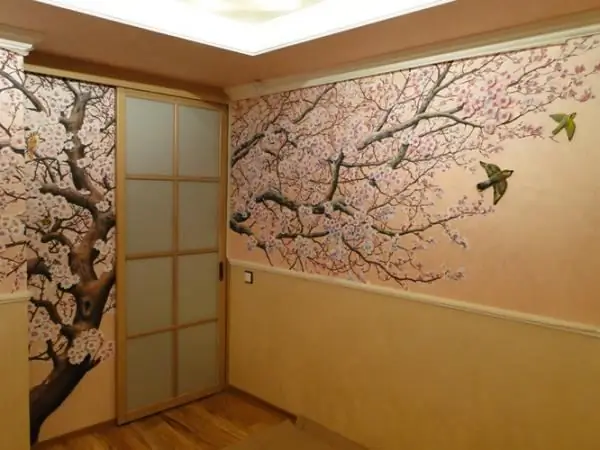
Wall paintings are often used to decorate modern rooms. Drawing on dry plaster is a process that can be easily done at home. Only first you need to master the technique of painting on dry plaster.

How to choose a paint for painting on dry plaster?
The popularity of wall murals in living spaces is growing every year. There are two main methods of surface painting - painting on dry and wet plaster. The second method is much more complex. Therefore, in practice, drawing is often applied to dry plaster.
Typically, oil, lime and wax paints with a wax base are used for such artwork. Materials created on the basis of casein-oil emulsion are considered to be more modern dyes. Or you can choose matte, glossy or acrylic paints. They dry very quickly and then form a super-strong layer. This protective coating is moisture resistant and neutralizes the effects of ultraviolet radiation. There are even special formulations that simulate cracking or glow in the dark.
Dry plaster painting technique
Before directly applying the pattern to dry plaster, you will need to create a sketch. To create it, decide on the scale of the composition, draw it on paper and break it into squares. This must be done to facilitate the process of transferring the picture to the wall. Then level the wall surface as much as possible. To do this, you need to remove traces of whitewash and wipe all the irregularities.
Be sure to prime using lime dough and casein glue. The composition for the primer depends on the type of paint chosen. By the way, the surface should be primed in three stages. Remember to dry it after each step.
Then break the "canvas" into squares. The markings can be drawn with charcoal or masking tape can be glued to the special marks. Transfer the starting points to the wall if there are many large elements in the drawing. This will require a large ruler. Now carefully draw out the outlines of the composition in sepia or charcoal.
Perhaps, in the process of work, the image will have to be repeatedly corrected so that it turns out to be harmonious and proportional. After completing this stage, you can proceed to work with color. Try to use dark tones first, and move to lighter ones closer to the end of the work. It is better to start drawing from the periphery and gradually move to the central part of the composition. The final step should be to varnish the resulting pattern.


