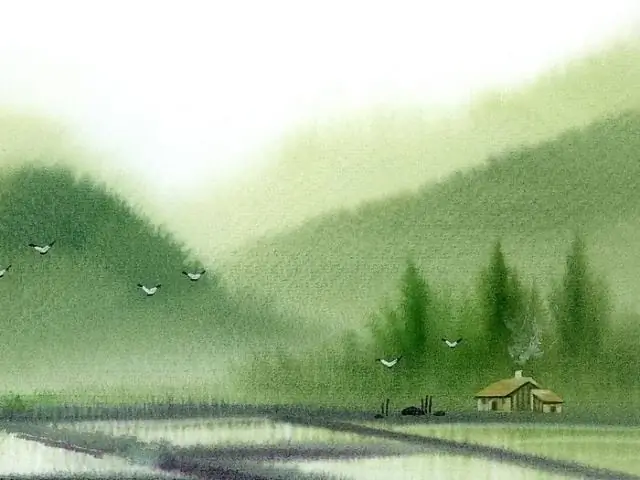
The ability to capture a beautiful landscape, remembering it for a long time and expressing your feelings from it in a painting is extremely appreciated and reflects the degree of your pictorial and creative talent. However, you can draw not only using paper and paints, but also having the skill of drawing in a computer, using a tablet and a pen.
In this article, we will look at the technique of drawing a simple landscape in Photoshop from scratch.

It is necessary
Adobe Photoshop program
Instructions
Step 1
Create a new document in Photoshop at 4.5 x 6 inches with a resolution of 300 pixels per inch. Specify RGB color model and white background.
Step 2
Fill the background with any natural color - for example, light brown. Use brushes of different sizes - from small 5px to larger 45px. It is better to use hard brushes, and use a soft airbrush brush for shading.
Step 3
Take a darker color than your background, and with a thin brush sketch out the silhouette of the landscape - the outlines of hills, bushes and trees. Create a new layer, choose a base color for each element of the landscape and create a color base - paint each object with the color of your choice.
Step 4
Paint the grass with a forest green shade, the mountains and hills with a brownish one.
Step 5
Then start adding realism to the picture - with rough strokes sketch out the shadows and darkening in the transitions between colors. Use a 100 px airbrush brush for this, set to Multiply and the same color as the background.
Step 6
Set the Brush value to Pressure 50. Using wide strokes darkening the desired areas, brighten other areas to create volume for the relief and vegetation. Change the blending parameter from Multiply to Screen and lighten the desired objects.
Step 7
Use small strokes to outline the foliage, with larger strokes to highlight the areas of hills and relief. Switch from Multiply to Screen and vice versa, making the foliage more subtle - this will allow you to select the individual leaves with dark or light strokes and make them realistic.
Step 8
Reduce the size of the airbrush to 5 pixels, use the eyedropper to select the color you used to paint the shrub, and paint the grass and stems with light, loose and curved strokes.
Step 9
By changing the size and blending options of the brush, detail the texture of the rocks and hills. Smooth out too harsh color transitions, achieve a natural transition of light and shadow. Use small and thin strokes to create irregularities and cracks on the surface of the stones.
Step 10
Alternating between darker and lighter strokes with a thin brush, create a stone texture, simulating an uneven surface and the play of light and shadow on it. On the grass surrounding the rocks, mark the shadows of the rocks with wide dark green strokes, then start painting in the texture of the grass.
Step 11
Using a darker and lighter color alternately, paint the grass stalks with quick strokes. Add a few long grass blades of a contrasting yellowish color taken from the stones with an eyedropper to make the grass look more realistic and deeper, and also to keep the overall color scheme of the painting.


