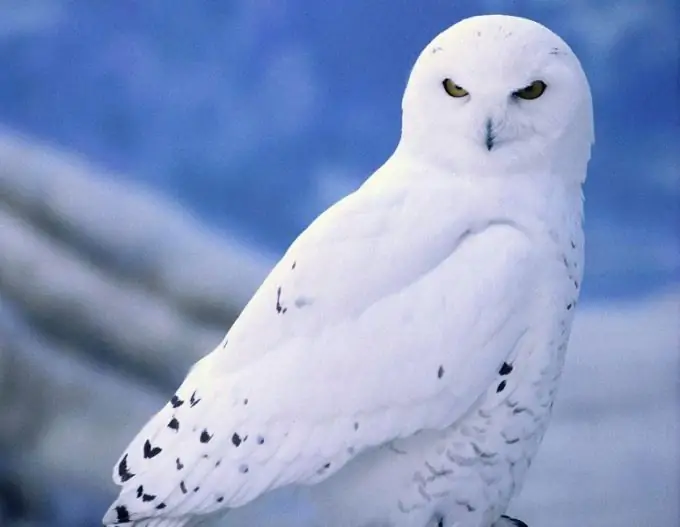
The owl is a nocturnal bird with an abundance of rounded shapes. But when making it out of paper, the roundness can be neglected. The main thing is to emphasize the huge round eyes with vertical pupils.

It is necessary
- Colored paper;
- Cardboard;
- Scissors;
- Glue stick;
- Scotch;
- Satin ribbon or cable.
Instructions
Step 1
Draw and cut out templates for the future owl from cardboard: triangular ears, rounded or triangular head, ovoid body, short rectangular legs, triangular wings. For the eyes, make rings-frames, circles-irises and elongated pupils. Make the beak from an acute-angled triangle.
Step 2
Attach cardboard blanks to the back of colored paper, circle: body, ears, head and wings - different shades of brown; the eyes are yellow, the rings and pupils are black, the legs are dark brown or black, the beak is gray or brownish. Additionally, you can draw several small triangles with an elongated top out of brown paper. You will use them to create separate feathers on the owl's body and wings.
Step 3
Cut out the details strictly along the lines of the pencil markings. Do not go to the inside of future parts, but also try not to grab too much. After the initial cut, you will have to trim off the extra edges additionally.
Step 4
Align the details to visualize how they will be laid out. Then smear the entire back surface of the paper with glue stick and align with each other. There is no need to glue the back of the body.
Step 5
To the back side, to the crown, you can attach a loop of brown satin ribbon or cable with tape. Hang the toy on a tree, nail, or other way to the desired vertical surface.


