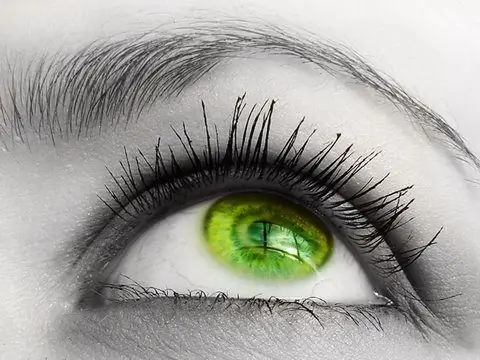
In the portrait drawing of a person, the eyes are the basis that creates the general atmosphere of the portrait, as well as that element of the face, without the correct drawing of which a person will not look like a portrait. Beautiful eyes give the portrait realism, a certain mood, help convey emotions to the audience, and therefore every graphic artist should be able to draw this difficult part of a human face.

Instructions
Step 1
First of all, remember what the anatomical structure of the eye is, without being distracted by eyelashes, eyebrows, eyelids and other elements surrounding the eye. The eye has a spherical shape, its visible part is convex, and the curves of the upper and lower eyelids depend on this bulge.
Step 2
Think of the eye as a ball, framed by the eyelids, with an additional convex cornea in front of it. In addition to the shape of the eyeball itself, consider the shape of the deepening of the eye socket, eyelids, as well as the protrusions of the eyebrows and eyebrows.
Step 3
An even better understanding of the structure and structure of the eye in the image will help you with a plaster cast of the eye, created taking into account perspective and anatomical features. Draw the eye, also keeping in mind the peculiarities of its perspective cuts and the landing line in the socket.
Step 4
The line of the superciliary arches, as a rule, is outlined slightly obliquely to the edge of the orbital cavities. Mark the transitions to the planes of the cheekbones, as well as to the bridge of the nose and eyebrows. Always draw the bridge of the nose just above the inner corners of the eyes - based on this, form the section of the eyes in the drawing in accordance with the nature with which you are drawing.
Step 5
Always focus on the level of the bridge of the nose, drawing the correct line for the location of the eyes. The outer corner of the eye can be either above the level of the lacrimal gland in the inner corner, or below it.
Step 6
Mark the correct fit for the eyeball and cornea. Mark the pupil. After that, move on to drawing the lower and upper eyelids, which cover the eye along the line of its curves, taking into account the perspective cuts.
Step 7
Depending on the shape of the eyes, the degree of eyelid opening also changes. The upper eyelid always bends more than the lower. The eye should always be tilted slightly forward in relation to the vertical of the person's profile.
Step 8
After shaping the basic outlines of the eye and eyelids, start adding shadow, light and reflexes to the drawing using the eraser and hatching.


