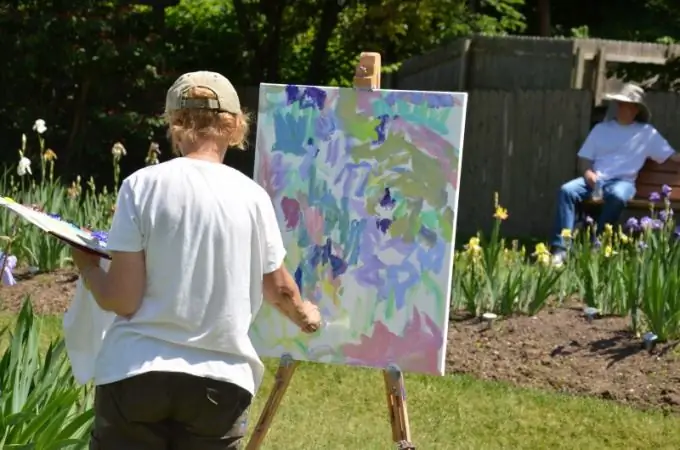
Learning to draw from life is a mandatory part of the program in art schools, universities and colleges. It is better to study under the guidance of a teacher, but not all amateur artists have this opportunity. You can master the skills of drawing from life on your own.

It is necessary
- - paper;
- - simple pencils:
- - eraser;
- - postcards;
- - dishes and other items of simple shape;
- - plaster models.
Instructions
Step 1
Start mastering drawing skills from life by looking at other people's drawings. These can be greeting cards with cartoon characters, illustrations for children's books, reproductions of drawings by famous artists, etc. Try to sketch a simple picture. Analyze what parts the image consists of, what geometric shape this or that element resembles, at what angle the fragments are located to each other, set the size ratio. At first, draw with a hard pencil, and remove erroneous lines with an eraser.
Step 2
After you learn how to sketch images from pictures, proceed to drawing three-dimensional objects of a simple shape. For example, it might be an opaque cup. Place it at some distance from you and examine it carefully. Set the ratio of height and width, see at what distance from the bottom the handle is and what shape it is. It is best to position the cup so that one side is very well lit and the other is in the shade. Take a close look at where the border of light and shadow goes. Note that the shadowed side looks darker. Take a closer look to see if there is a light flare on the front wall. As a rule, it is located on the most convex part. Note also that the opposite wall is slightly visible from above, and the circle at an angle looks like an oval.
Step 3
Draw a cup. Start drawing it from a vertical line. Set aside the height, draw horizontal lines across the marks. Set the width on them Draw a rectangle. Draw ovals at the top and bottom of the axes. The bottom one will not be visible in its entirety, but only that part of it that is located closer to the viewer. Draw the thickness of the walls. Mark the place for the pen and draw its outlines. Give the shape of the cup by shading. The strokes can be either vertical or arched. In the first case, the shading will be denser in shaded areas. Try to draw a few more opaque objects of a simple form, then move on to drawing glass vases, wine glasses, etc.
Step 4
Having mastered drawing dishes, take a plaster model. A mask works best to start with. Before getting to work, it is very helpful to have at least a cursory acquaintance with anatomy for artists. In particular, you need a section on facial structure. There you will find basic proportions and basic information on how the base of the face is built. Drawing plaster models in art universities is devoted to a large number of teaching hours. It is important for an amateur artist to master the general principles in order to learn how to draw figures of living people in the future.
Step 5
Try painting a landscape from life. First you need to choose what you would like to portray. At the initial stage, a simple architectural structure is most suitable. For example, it could be a village house. Before drawing it, learn what perspective is and how it is conveyed in the drawing. On the sheet, mark the places for all objects - a house, a fence, a tree, a flower bed. Try to imagine what you see on a plane. The height of the tree in relation to the height of the house depends on the distance of both objects from the viewer. Farther objects appear smaller. Pay attention to the fact that the wall of the house, which stands at an angle to you, seems shorter than it is, and if you imagine it on a plane, it will be located at a certain angle upward. Draw the outlines of all objects, and then draw them, taking into account the shape of each, the ratio of parts, etc. The sequence of work on the landscape is not much different from the one that you used when drawing elements of a still life, there are simply more objects in the drawing and the relationship between them will be more complex.


