To draw a child, you need to know the principles of the structure of his face and body, as they differ significantly from the structure of adults. Drawing with pencils is the most preferred option for those who are just starting to comprehend the basics of drawing.

It is necessary
- - pencils (soft and hard);
- - eraser;
- - a clean album sheet;
- - napkin.
Instructions
Step 1
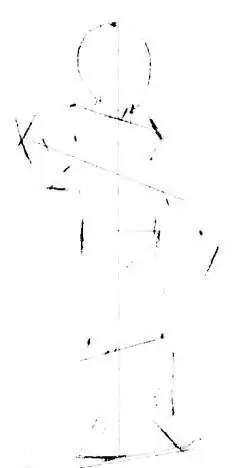
The first step is to sharpen the pencils well and put the album sheet in front of you vertically. Pick up a hard pencil and, barely touching the sheet, make a small sketch: outline the position of the body, determine the size of the drawing. At this stage, the most important thing is to correctly determine the proportions of the head, body and limbs.

Step 2
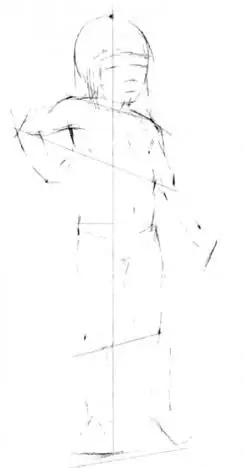
Once the above is done, you can start drawing certain details. First, you need to pay attention to the upper part of the picture and try to outline the hair and hands, outline the location of the eyes, nose and mouth.
In order for the work to proceed faster in the future, you need to draw lines showing the location of the child's knees and elbows.

Step 3
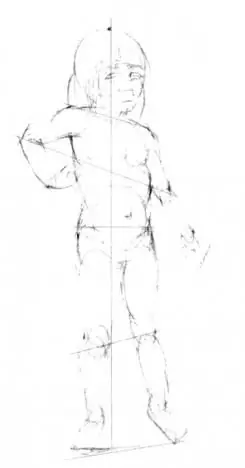
The next stage is drawing the body and legs. You need to try to draw the child's body with the same hard pencil, and then the legs. It is worth remembering that their length should be approximately the same. Since children are very mobile, it is quite difficult for them to sit without movement, it is best to depict the child in movement in the drawing.

Step 4
After the sketch is ready, you can start drawing the little things, namely a clearer image of the face, hair, fingers, and so on. The drawing will look more attractive if you paint a smile on the child's face.

Step 5
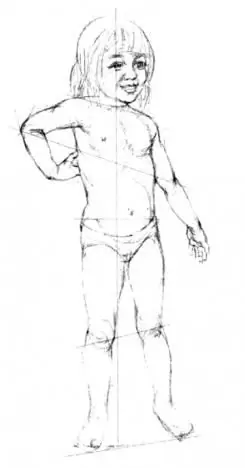
The final stage, but the most difficult one, is the design of highlights and shadows. It is necessary with the help of a soft pencil to slightly darken the left side of the drawing, as well as the places where the shadows are supposed to be: on the hair, a shadow on the back of the child, on his face, etc.
Using an eraser, erase excess lines, gently rub the "shadows" with a piece of napkin to smooth out the pencil marks. The drawing is ready.


