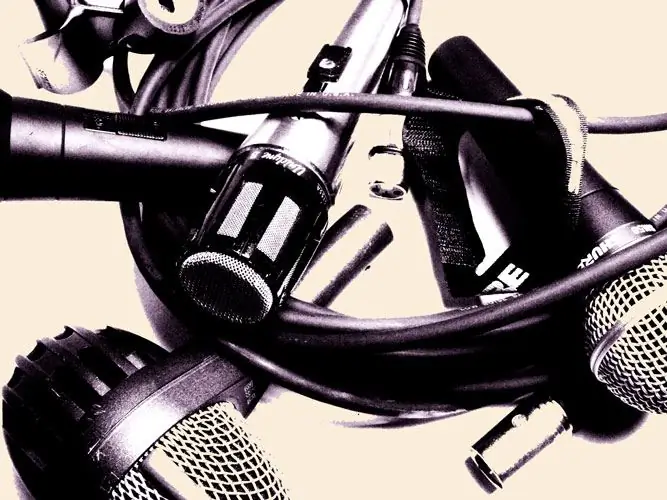
A microphone is an indispensable, accurate device in sound recording, has many varieties and therefore is convenient, but at the same time requires extremely accurate work, starting with installation and ending with the final processing of the recorded music.

Instructions
Step 1
Position the microphone based on its sensitivity and "directivity pattern" (the microphone picks up all sounds within its reach). Therefore, aim the microphone where the sound is richest in overtones and at the same time most intelligible. The microphone must maintain the same position during recording, so firmly fix all the stand elements and the wire (at least in the immediate vicinity of the microphone). This will reduce the likelihood that stand vibrations will get into the recording (they will give completely unnecessary noises and clicks in the recording). If you are writing a voice, do not forget to put an acoustic screen or put on a special filter hat against wind blowing on the microphone - it will also help reduce the likelihood that "explosive" (b, p, f) and whistling (s, c, z, u) consonants at the peak level will spoil the phonogram.
Step 2
Connect a microphone to the recording device and adjust the audio level to the desired level. The general rule is this: set no more than 70% of the maximum possible level on the device. If it is still not enough, connect the microphone through the preamplifier (on the mixing console, the preamplifier is controlled by the microphone input sensitivity regulator). Check if the recording level goes off scale at the maximum volume of the sound source, if so, then reduce the signal level. By the way, when recording a voice, the performer's mouth should be at least 15-20 centimeters from the microphone.
If everything is in order, start recording.
Step 3
When recording, be sure to control the process through monitors or headphones. Adjust signal levels if necessary, but never do this while recording. Only in between takes.
Step 4
And finally, the obligatory technical processing of the recorded material. First, the phonogram needs to be "normalized". Then - remove the most obvious noises. Then you can start more subtle and artistic editing.


