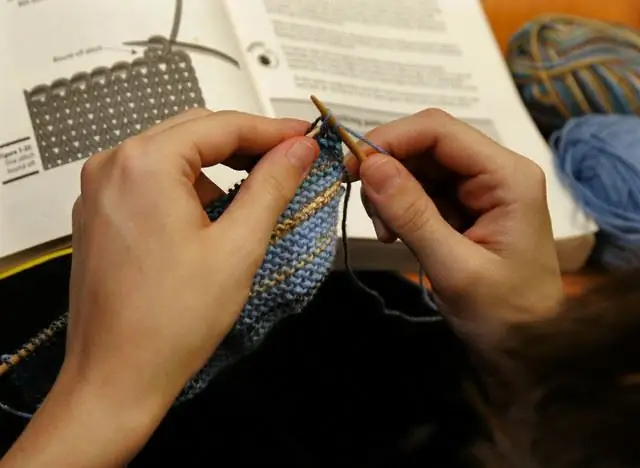
Knitted things will never go out of fashion, because in the cold season you simply cannot do without them. Even an inexperienced knitter can knit a simple hat in one day, the only thing he needs is knitting needles and yarn of his favorite color.

It is necessary
- - yarn
- - knitting needles
- - tailor's centimeter
Instructions
Step 1
Measure your head circumference with a centimeter. Subtract 2 cm from the result obtained and cast on the loops on the knitting needles. That is, if the head circumference is 40 cm, cast on loops until you are 38 cm, and start knitting an elastic band. The lightest and most elastic band is obtained by knitting two front and two purl loops alternately. Knit until you have the elastic to the desired length.
Step 2
Proceed to knitting the main part in a circle, for which you will have to divide all the loops you have evenly into 4 knitting needles. Depending on your preference, you can knit with both knit stitches and purl stitches. If you want to get a striped multi-colored hat, try to add a thread of a new color so that the beginning of a new color row starts at the back.
Step 3
After knitting 20 cm, you can begin to decrease the loops so that the hat takes shape and fits well. To do this, knit 2 stitches together at the end of every second row. Keep doing this until you have 8 to 12 stitches left on each knitting needle.
Step 4
Tear off the thread from the ball, leaving about 30 cm, thread the needle and pull it through all open loops, being careful not to miss a single one. Pull the thread in a knot from the wrong side of the cap, sew it with a couple of seams to prevent the loops from unraveling.
Step 5
Sew the edges of the elastic, decorate the hat with pom-poms, buttons, badges and other accessories as desired.


