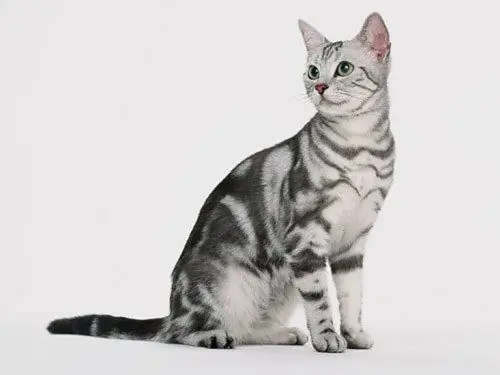
The most lively and interesting drawings are those drawn from nature. Therefore, it is very good if you have a cat at hand, moreover, calm and persevering. If there is no live cat, you can make a drawing from a photograph. The hardest thing is to draw from memory.

It is necessary
- - thick paper for drawing;
- - the pencil is hard-soft;
- - soft pencil;
- - ballpoint pen with an empty refill;
- - napkin.
Instructions
Step 1
Sketch first. Use a hard-soft pencil for it. Try to look as little as possible at the sheet of paper in front of you and as much as possible at the object you are drawing. Draw a lot of lines to refine the drawing without erasing anything. Break the cat shape into simple shapes. Take visual measurements of parts of her body using a pencil. Extend your hand with a pencil forward and notice how long this or that part of the body takes. Control your sketch by checking the dimensions relative to. For example, notice how many times the length of the head fits over the length of the body. Notice at what angle the lines go to each other, for example, the ear and forehead. The back line is concave or arched, etc.
Step 2
Refine your sketch by sketching out the details. Check the position of the eyes, ears, mouth with measurements. Draw the pupils of the eyes, not forgetting to mark the highlights. Mark with light lines the boundaries of the light spots. At the same time, try to convey the light spot in the form of a geometric shape.
Step 3
For a realistic representation of wool, some artists use this technique. Take a ballpoint pen with an empty nib and begin to press the woolly strokes on the paper. Start with the cat's head. Notice in which direction the fur grows in a real animal, but do not try to make the strokes parallel and even. Draw them in beams, keeping the general direction, but slightly changing the angle of inclination. Then, lightly shade the treated area with a soft pencil and rub with a napkin. The sunken strokes will remain white in the background. Paint the pupils with black, not forgetting to leave the highlights white.
Step 4
Then shade in the darker areas with a pencil. Rub the hatching with a napkin if necessary, if necessary, soften the transitions. Use a white pencil to specify highlights and light spots.
Step 5
Continue in the same vein, depicting body hair. Note that the strokes are shorter on the face and longer on the back. Then repeat the operations, applying the general tone and adding dark touches.
Step 6
Gradually fill in the entire body of the cat with hatching. Then once again clarify the details, chiaroscuro, until the drawing begins to you like. Find the darkest and lightest part of your drawing - this will make it more voluminous. Correct the highlights with a white pencil. Draw shadows.


