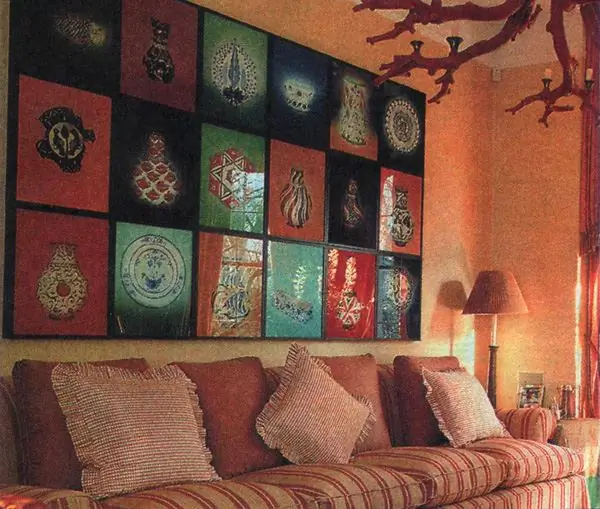
A panel is a piece of decorative art designed to decorate a part of a wall in the interior (or on the facade of a building). With its help, you can mask wall defects, visually delimit the areas of the room, or simply decorate it in an original way. Plus, it's also a great opportunity to vent your creativity. A hand-made panel can tell your loved ones something new about your secret inner world, which they did not know about you before. Decide on a bold experiment and you will not regret the time spent.

Instructions
Step 1
The technique in which a decorative panel can be made can be very diverse: from paper and natural collages, batik or mosaic techniques to clay and decorative plaster reliefs. Any materials are suitable for the production of panels, even the most unexpected or useless ones: construction waste, rags, empty cans and refined sugar. The main thing is to arrange and beat the materials used so that the finished product does not end up in the trash can.
Step 2
Determine a place in the interior for your panel. Perhaps, you shouldn't immediately aim at the monumental scale. Start small if you are not completely confident in your own abilities. Imagine in your mind what kind of composition you would like to see in this place. Your imagination, artistic taste and sense of proportion will help you here. Make a sketch of the panel on paper in full size, especially if its composition involves a specific subject (single object, still life, landscape, battle scene, etc.).
Step 3
Based on your idea, prepare the basis for the panel. Usually it is a piece of cardboard of the required size, which is then covered with a textured background: paper, old newspapers, fabric (rough burlap, canvas, draped with silk), decorative ground or something else. Alternatively, you can use the wall itself as a basis, or rather, the area you have chosen for the panel.
Step 4
Next, start creating the main composition. Prepare all its details: select natural materials of the desired shapes and colors; scraps of fabrics, accessories (large buttons, buckles, rhinestones, feathers, beads), various cords, decorative fibers; mold parts of the future composition from clay, puff pastry or plastic and subject them to appropriate processing (baking, firing, etc.).
Step 5
Using PVA glue or other materials corresponding to your chosen technique, attach all parts of the composition to the base, following the preliminary sketch. Complete your artwork with missing details and finishing touches. Complete the final finishing of the wall panel - paint it, varnish it, apply hand embroidery.
Step 6
The next step is to frame the panel. Choose a decent frame for your panel, consistent with the overall style of the product. You can make the frame a continuation of the composition of the panel, placing interesting details on it.


