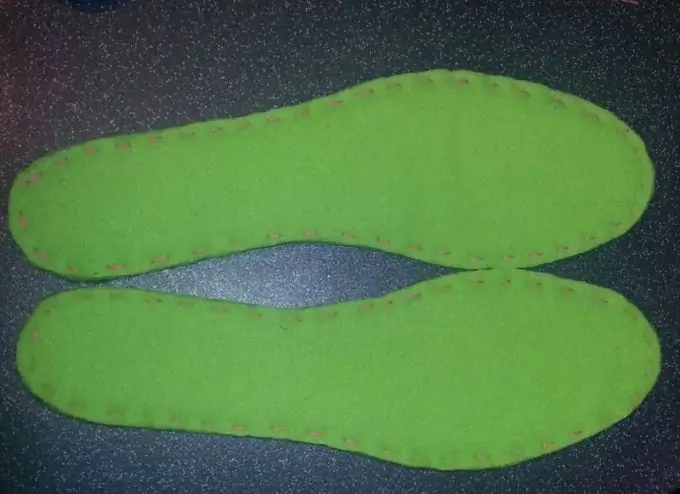
For pathologies of the foot, it is imperative to wear individual orthopedic insoles. Also, wearing them is recommended for those people who have a constantly increased load on the feet, for example, if the nature of the work is such that you have to stand for a long time.

Orthopedic insoles are very useful if you feel tired and uncomfortable in your legs when walking or running, or if you have pain in your feet. They are an effective solution for leg pain that is caused by muscle imbalances and biomechanical defects in the legs.
How orthopedic insoles are made
Orthopedic insoles are made individually, taking into account both the biomechanical functions of the foot and anatomical features. The insoles for different shoe models should be different.
Homemade orthopedic insoles are both made and used with varying success. Those who decide to make such a product with their own hands should understand that flat feet are different, and different models are needed for their treatment. Therefore, in the matter of making orthopedic insoles, it is better to trust specialists.
What can be used to make an orthopedic insole at home
You will need regular insoles that will fit the inner size of your particular shoe. Place your bare foot on the insole, take a pencil and make a mark with it between your thumb and forefinger. Now make a ball of cotton with a diameter of about one and a half centimeters and fix at this point with a medical tape.
Take a small roll of bandage - either sterile or non-sterile will do. Its width can be 3, 5-5 cm - depending on how comfortable it is for the leg. It should be placed under the foot, on the inside of the arch, where the foot does not touch the insole. It is necessary to try as accurately as possible to choose the place for fixing the bandage and its thickness, which will be most convenient.
When the thickness and width are found, the bandage must be fixed in the same way with a regular plaster. Any dense fabric should be glued on top of the base prepared in this way - a part cut along the contour of the insole from old jeans is well suited. You can sheathe parts along the contour.
For the second leg, the insole must be done separately, having done all the manipulations in the same way as in the case of the first leg. Such insoles can be rearranged from one shoe to another. If a child needs a product, and you admit the possibility of making homemade insoles for children, then this can be called a rather economical approach. A child's foot grows quickly, and custom-made orthopedic insoles are expensive.


