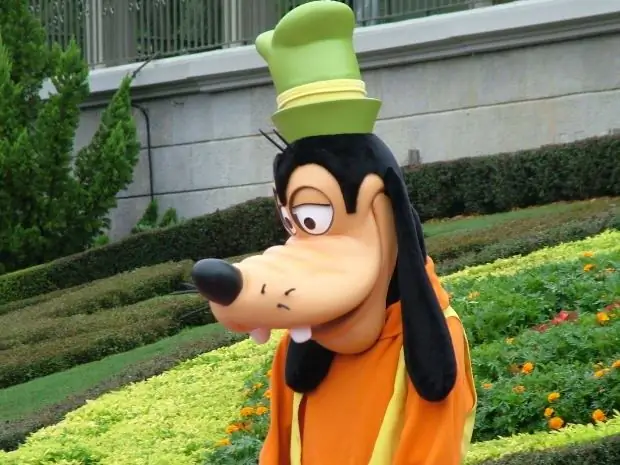
Puppet cartoons are filmed with ready-made heroes-dolls, in which body parts move. Such cartoons can be quickly made at home.

It is necessary
Dolls, backgrounds, interior details, digital camera, computer, tripod, Adobe Premiere Pro
Instructions
Step 1
Create a space for the future cartoon. Based on the scenario, determine what kind of interiors and decorations you need. Collect triangles from cardboard - the corners of the rooms and decorate them according to the idea of your cartoon. The space should be proportional to the size of the dolls.
Step 2
Place the decorations on a stable surface. A regular table in a room with constant lighting will do. Be careful while working, any unplanned movement of the scenery will be visible in the cartoon. If during the shooting of the cartoon the ambient light changes, then this will also be noticeable.
Step 3
Place a tripod in front of the table with the decoration. Install a camera on it. The lens should only cover the space of the scenery and the heroes-dolls.
Step 4
Move the doll slowly to change the position of its body parts. Take pictures assuming that each photo is only one thirteenth second of your future cartoon. If you remove your hands, then the puppet cartoon will turn out to be very professional. But for children, such a detailed study will seem boring. Therefore, you can photograph everything in real time, and the hands in the frame will be just an artistic solution.
Step 5
Keep track of the amount of free space on the camera's memory card. If you run out of space, then leave all the items in the same place and carefully, without moving the tripod and camera, remove the card. Copy its contents to your computer and then insert the blank card back.
Step 6
After all the scenes of your cartoon have been photographed and copied to your computer, start the Adobe Premiere Pro program. Create a new project in the same format as your frames. Click File -> New Project. Specify a place where all the materials of your cartoon will be stored. Enter a name for the project.
Step 7
In the project, click File -> Import. Select all the photos of your cartoon and click "ok". All the necessary elements will appear in the window with the project materials.
Step 8
Select all photos from the source area. And move them to the Timeline window, to the image work track.
Step 9
For the first cartoon, it's better to use music as a soundtrack. Working with text is very difficult, for this you first need to record the sound, then calculate how many frames you should photograph. This all complicates the process.
Step 10
Click File-> Import and select a sound file for your cartoon. Similar to photos, drag it onto the Timeline, onto the audio track. Press the "Enter" key. The process of calculating your future cartoon will begin.
Step 11
Click File -> Export. Choose a directory where to save your cartoon and enter its future name. Press Enter. At the end of the export process, go to the previously specified directory. Your cartoon is ready.


