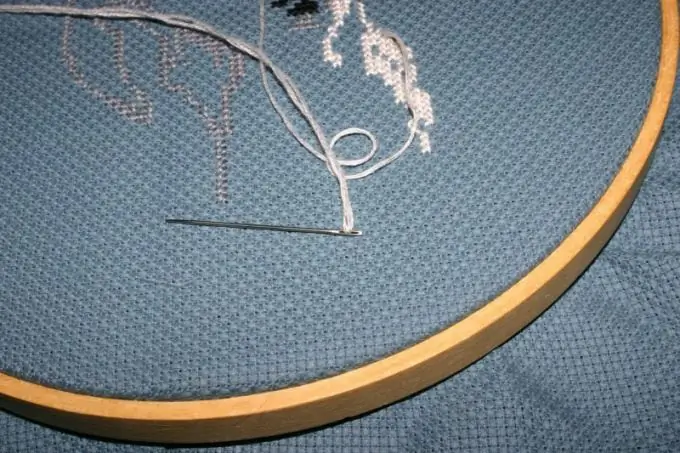
Embroidery is one of the oldest types of needlework. Currently, more and more craftswomen come to this fascinating world of "drawing" with threads. But now the last stitch is done, the thread is secured, and you have a wonderful … rag in your hands. How can you make a decoration for your home or a wonderful gift from this rag? You just need to insert the embroidery into the frame.

Instructions
Step 1
There are several options for embroidery design. The simplest and most expensive is to order a frame in a baguette workshop. This option makes more sense if the embroidery is large. There are also kits for embroidery, the manufacturers of which offer to purchase frames and mat, already selected in style and size. Another option is to purchase a frame from a photo store. It is inexpensive, but difficult to find a size and interesting shape. This drawback can be easily eliminated by selecting a mat. If you have enough imagination and skill, you can make the frame and mat yourself. In this case, you can play with shapes, materials and decoration. It's inexpensive and fun, but time-consuming.
Step 2
In the last three options, you will have to insert the embroidered picture yourself. To do this, first pull the embroidery over a cardboard base. Take the size of the cardboard 5-7 mm larger than the "window" of the mat. There are several ways to stretch:
- Glue the embroidery with glue or double-sided tape, after carefully aligning it so that the canvas cells run parallel to the edge of the cardboard. The work inserted in this way is very difficult to dismantle, and the adhesives are difficult to clean.
- Pull the back of the canvas with the threads. Draw the threads between opposite ends as you would for a very wide darning. This allows for tight tension, neat alignment, and easy disassembly if needed.
Step 3
Be sure to place a mat between the stretched surface and the glass. This prevents the embroidery from flattening. Make a mat out of colored cardboard and decorate it with a curly window, with beautiful slots. You can cover it with fabric, decorate with various materials at hand. Also try to make a multi-layered mat, the layers of which protrude from under each other.
Step 4
Press the embroidery to the frame with the extra back and secure with studs or the supplied clips. The picture is ready!


