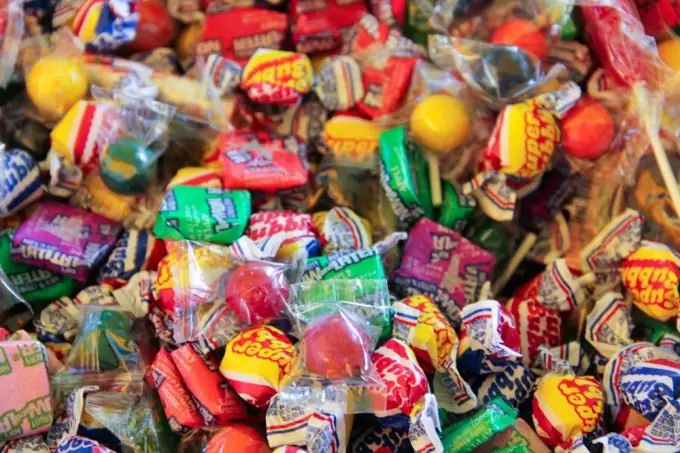
If you need a complex image, it is best to take the candy, put it in front of you, and draw what you see. In the process, you can get creative and tweak the shape and color of the wrapper, but an example in front of your eyes will help you correctly identify chiaroscuro and make the image realistic.

It is necessary
- - paper,
- - pencil,
- - colour pencils,
- - eraser,
- - Paint program.
Instructions
Step 1
Simple pencil drawing. Think about the types of sweets you've come across - caramels, lollipops, truffles, bars - and sketch your ideas. Use a photograph as an illustrative example. Color in these pictures and you will get a very nice result.
Step 2
If you want a simple drawing in a file, you can do much the same with Paint. Draw out paths and use the Paint Bucket tool to add color to different areas.
Step 3
Volumetric pencil drawing. Take pencils with HB and 2B hardness. Draw the base shape with an HB pencil, lightly shade, leaving only the areas of glare clean (where direct light falls). Use a soft pencil to shade the darker areas and folds on the "ears". Make different shading densities to show the transition of the shadows.
Step 4
When drawing with colored pencils, follow the same scheme, use different shades of the same color to convey the play of light and shade. Look at examples of colored drawings of sweets, they can also be made in black and white.
Step 5
Flash drawing. Find a suitable photo. For our example, consider the image of a chocolate candy heart. Using the Pen tool, draw dark brown lines that define the shape of the candy: an upper heart-shaped outline, a bottom side-view outline, and radial stripes from the center outward.
Step 6
Use the Eyedropper tool to remove the colors from the photo (it is better to take 3-4 shades, if you limit yourself to two, the effect will be less natural) and make a complex gradient to fill the contour shape.
Step 7
Identify the lighter places from the photo and mark them in the picture. Use the eyedropper and a radial gradient to position the highlights as they appear in the photo.
Step 8
Paint the radial stripes (see p. 2) dark brown and place over the highlights, as no light enters them. The candy is ready.


