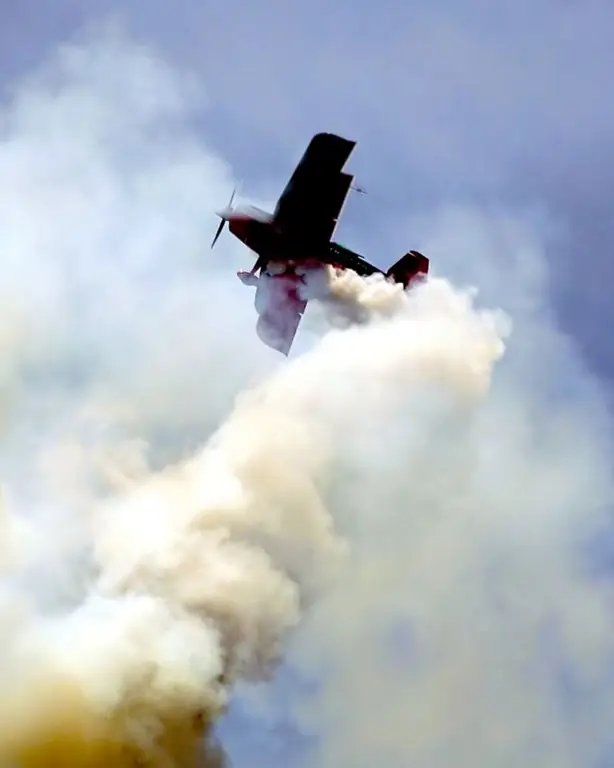
The combustion process is always accompanied by the release of smoke, as evidenced by the well-known proverb. There are many phenomena associated with smoke, as well as its types: voluminous black puffs of smoke during a volcanic eruption or fire, a cozy white column from a chimney, or thin curly streams and clouds over a cup of aromatic coffee. Drawing smoke is not an easy task as its shape is variable and not entirely specific. However, by patiently following a few steps, you can achieve a very realistic effect by depicting smoke.

It is necessary
graphic editor or ordinary drawing materials (paper, brushes and paints / charcoal and chalk / pastel)
Instructions
Step 1
Open a new document in a graphics editor. Start painting a textured cloudy background to resemble the sky on a cloudy day. Use a variety of hard, blotchy, scattering brushes and neutral grayish tints.
Step 2
On the resulting background, sketch out the desired shape of the smoke puffs with a large round brush with ragged edges. Identify the light source in your drawing and draw rounded shapes using lighter tones than when creating the background. Also, you must consider whether the movement of the wind or something else affects the shape and direction of the smoke in your drawing, otherwise the image will not be believable. Feel free to use your imagination and intuitive drawing method, as smoke can take on a wide variety of forms.
Step 3
Now, using dark gray shades, paint with a large brush the shaded shades of the pillar of smoke. Hand movements with a brush should be rounded or spiral, reminiscent of drawing the wool of a lamb. Form large shadow areas, creating an overall rough shape of the smoke cloud.
Step 4
Using a soft brush, start smoothing out the edges of the lighted and shaded areas of the smoke mass. The higher the cloud of smoke rises, the more fluffy and soft it becomes, but closer to the base of its clouds the more concentrated and sharply expressed, formed. Use the blur and grind tools to add fluffiness to the smoke and smooth out the initial harsh lines between dark and light shades of color.
Step 5
Add more detail to your drawing using medium and small round hard brushes. The clouds of smoke, as if in tiers, layered one above the other, forming a rhythmic ridge of bulges, making the entire pillar embossed. These tiers and bulges cast shadows on top of each other. Shadows blend into highlights, creating a soft, fluffy smoke "surface" texture. Light can break through the shadow, which adds depth and dimension to the smoke image.
Step 6
Refine the drawing with even finer details. Using a thin brush, paint the lambs texture with spiral strokes of light paint over the shaded areas. Highlight the highlights on the bumps of the smoky relief and give the whole picture a finished look.


