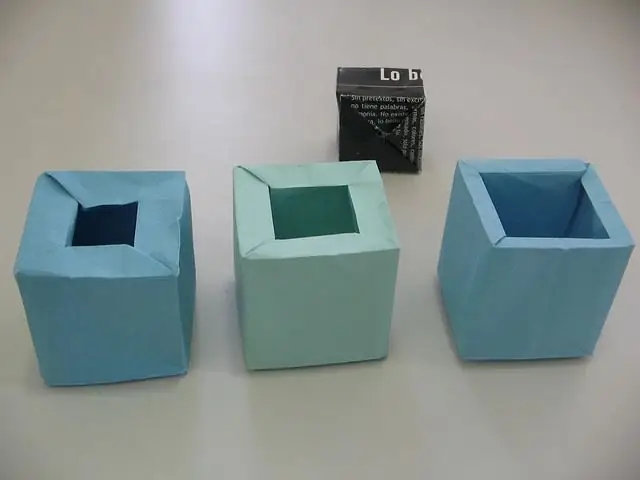
The cube is a universal figure. It can be used in almost any decor item. For example, for storing printed photos, it can be used with success. You will get a very original photo frame made using origami technique. If you get tired of a framed photo, you can simply turn the cube with the other side towards you.

It is necessary
- Six square sheets of paper 21x21 cm;
- 18 square sheets of Whatman or cardboard 10x10 cm;
- Glue;
- Ruler;
- 6 photos 10x10 cm, no more.
Instructions
Step 1
Let's deal with large squares first. You can take painted or covered A4 sheets. The main thing is that one side is clean. We make six squares of paper with a side of 21 cm. First, divide the sheet into 16 parts with folds, then turn the square over and make four diagonal folds. Now turn the sheet over again and bend the corners.
Step 2
Let's start "assembling" the square. Bend the middle of its sides to the center, we get something that looks like a flower. This will be the side of our cube. In each "flower" we insert one 10x10 cm square made of cardboard or thick paper (we should have 12 more such squares). You can insert folded scraps of a regular A4 sheet of paper into the frames. This inserted cardboard or thick paper will serve as a backing for your photos.
Step 3
Now we glue all the sides of the future cube, paint the sides themselves and the pieces of paper inserted in them in red (or to others you like). You can paint with acrylic paints. To hold all the faces of the cube together now, we need to take the remaining 12 squares from cardboard or thick paper.
Step 4
We first bend the square in half, and then all its corners to the center. We will glue and paint in the color we need. Now, using glue-covered 10x10 squares, we connect all sides of the cube and insert them into the pockets. Only not in those pockets into which we will insert photos, but in those along the edges. All this cube photo frame is ready.


