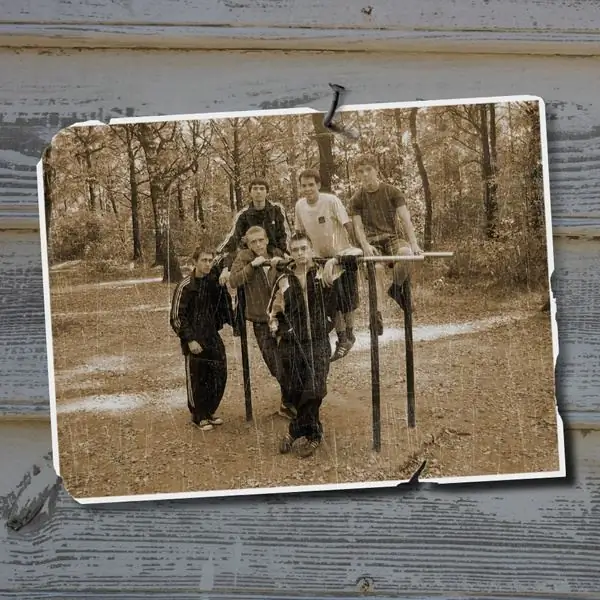
Vintage style is extremely popular today in everything - from clothing and interiors to photography. The antique effect gives your photo a special charm, makes it stylish and attractive, creates a certain mysterious and romantic atmosphere. By experimenting with textures and layer blending in Photoshop, you can create an interesting aging effect on any picture.

Instructions
Step 1
Open the desired photo in Photoshop and duplicate the layer (Duplicate layer). Now open the Image menu and choose the Adjustments> Brightness / Contrast option. Set the brightness to -9 and the contrast to +7. After that, open the Color Balance section in the same menu and in the window that opens, set the Shadows settings -4, +8, -45. In the Midtones settings, set the values to -17, +9, +19.
Step 2
In the Layer menu, go to New Adjustment Layer> Gradient map and set the Screen mode to 55% opacity. Set a regular black and white gradient and hit OK.
Step 3
Open the filter menu and choose Texture> Grain with Intensity 6 and Contrast 6. Set the grain type to horizontal. To keep all the created effects in the background, but remove them from the model in the photo, click Add Layer Mask in the layers palette and paint over the model with a soft brush.
Step 4
Exit layer mask mode - you will see that the image of the person in the photo has become brighter and cleaner. Now pick the right texture to make your photo look even older. Apply a texture to the photo and use Free Transform to expand it to match the location of the photo. Then change the blending mode of the texture and background layers to Multiply.
Step 5
Optionally, add another texture to the photo and add some elements with brushes that you like - for example, you can use brushes that simulate vintage lettering. Merge the layers and go to Image> Adjustment> Photo filter. Select a Sepia filter with a Density of 30%. Processing is over.


