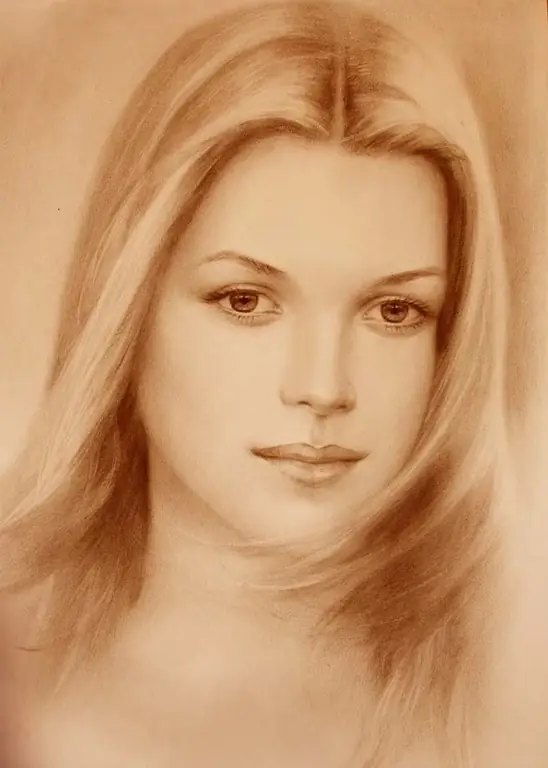
Cross stitch is an old art, similar to painting. Both the oil paints on the canvas and the threads on the canvas, stitch by stitch, reveal the elements of the picture. Craftswomen have long been relieved of the trouble of creating patterns for embroidery - you can buy ready-made ones. Only, unfortunately, there will be no portrait of a loved one among the store schemes. You can still digitally create a portrait outline.

Instructions
Step 1
Select the photo you want to create a diagram for. Pay attention to some of the quality of the image: it should be sharp, without "noise" and "grain". Compressed, reduced photos can also have an undesirable effect when converted. Choose a frame with a higher resolution.
Step 2
Estimate the color content of the frame: the fewer colors, the better. Of course, you do not need to be limited to a black and white photo, but it will be much more difficult to embroider a "rainbow".
Step 3
There should be a small amount of smooth transitions from color to color in the frame. They may look great in the frame, but the program for creating the circuit will not accept them.
Step 4
Go to the Igolki.net website using the link under the article. Log in and click on the "Create a new scheme" button on the main page. On the next page, click on the "Browse" field and find the selected photo. Click the "Continue" button and wait for the photo to load.
Step 5
Set the size of the pattern in stitches, enter a title, keywords and click Continue. Please note that patterns over 200 stitches are made only on a paid basis, but this size, believe me, will not seem small.
Step 6
Choose the number of shades. Adjust the smoothing of the transitions. Click the "Continue" button.
Step 7
Determine the size of the grid and click the "Continue" button. The schema will be created in a few minutes.
Step 8
Download the diagram from your gallery, print. Get started with thread and fabric.


