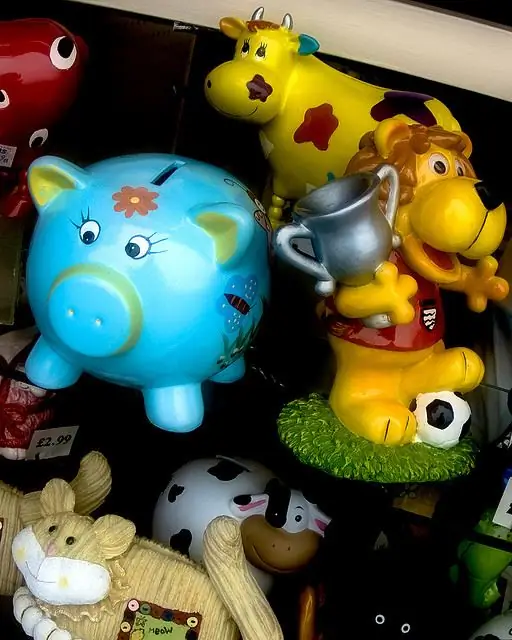
Papier-mâché is a French word. And translated into Russian, it means chewed paper. Toys, mannequins, dishes, various decorative elements are made of it. And now we will consider how to make a piggy bank in the shape of some cute animal from papier-mâché.

It is necessary
- Newspapers;
- A couple of sheets of plain white paper;
- Empty jar with a capacity of 0.5 liters;
- Paste;
- Plasticine;
- Gouache;
- Acrylic pistachio varnish;
- PVA glue;
- Stationery knife;
- Scissors;
- Thick and thin tassels.
Instructions
Step 1
Let's make the mold first. The basis for the body of the piggy bank animal will be a half-liter glass jar. This will help us save plasticine. Although, if you are going to make a small toy, you can completely make the mold out of plasticine. Now, as you understand, we stick around the jar with plasticine and form the muzzle and limbs of the future animal from it.
Step 2
The figurine is ready. We will coat the glass part of the figurine with vegetable oil or any fatty cream so that the paper does not stick to the glass later. The mold, which is made entirely of plasticine, does not need to be coated with oil.
Step 3
We take newspapers and tear them into many small pieces of any shape, but approximately 2x2 cm in size. We begin to paste over our form. We will make the first layer from pieces of newspaper soaked in water. The remaining layers 10-12 are glued onto the paste. After that, let the figurine stand and dry for several hours. Apply the last layer of paper after the rest is completely dry and with white paper. We glue the last layer of paper on PVA for strength. Leave the future piggy bank to dry again.
Step 4
We cut the piggy bank into two halves with a clerical knife, take out a jar of plasticine from there and glue both halves with PVA and pieces of white paper glued directly to the place of the cut. Making a slot for coins.
Step 5
Next, we prime the glued piggy bank with white gouache and paint after it dries. And after the paint has dried, we cover the product with acrylic-pistachio varnish. Done.


