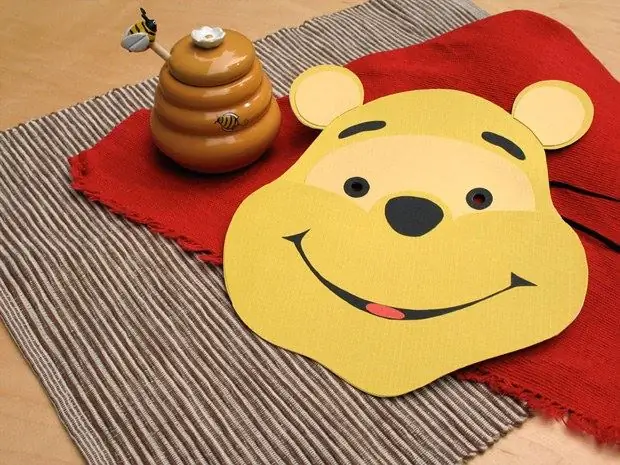
A do-it-yourself cardboard mask can not only attract the attention of many people around, but also give you a lot of pleasure. When making it, you can make your fantasy come true.

It is necessary
- - cardboard;
- - adhesive paper tape;
- - gouache and brush;
- - hot glue;
- - pieces of foam.
Instructions
Step 1
Cut out an oval about the size of your face. This will be the base of the mask. From a different color of cardboard, cut out an oval for the mask itself, expanding it in area by 2 cm. Instead of an oval, you can draw any other shape - a rectangle, circle or trapezoid. The main thing is not to forget to make allowances in the volume of the mask.
Step 2
Place in the middle of the large oval another, made to fit the face. You don't have to do it evenly - you can move it up or down a little. In turn, if you move the oval up, you can get a masculine chin, and if down, then a large forehead.
Step 3
Cut the oval of the mask around its perimeter in 8 places. These cuts must be made before the start of the main oval. Then add volume to the mask by gluing the previously made cuts with paper adhesive tape. Work from bottom to top, while gluing the cuts and inserting the mask into the oval of the base itself. Then secure them together with paper duct tape. If a hole forms under the chin on the mask (most likely, this will happen), do not despair, but simply cover it with a small piece of cardboard and then cover it with duct tape.
Step 4
Cut out the mask halo (base shape). At the same time, try to leave a margin around the mask itself equal to 1 cm.
Step 5
Glue flexible wire, preferably stainless, around the base of the mask with paper tape. Then cover the entire mask with pieces of paper tape so that they fit well enough and also not wrinkle. In turn, the wire will help to give the base of the mask any shape, you can even twist it into the shape of a horn. Just first glue the entire mask over, and then bend it as much as you like.
Step 6
Glue a small piece of cardboard, folded in half, over the nose hole. Glue small styrofoam molds on the sides. You can release the pieces of wire and then fold them over. You can insert additional elements, and then frame them with wire in the same way.
Step 7
Decorate the mask with reliefs using the string. To do this, glue it in the required shape with hot glue. Then draw the eyes and mouth on the mask.


