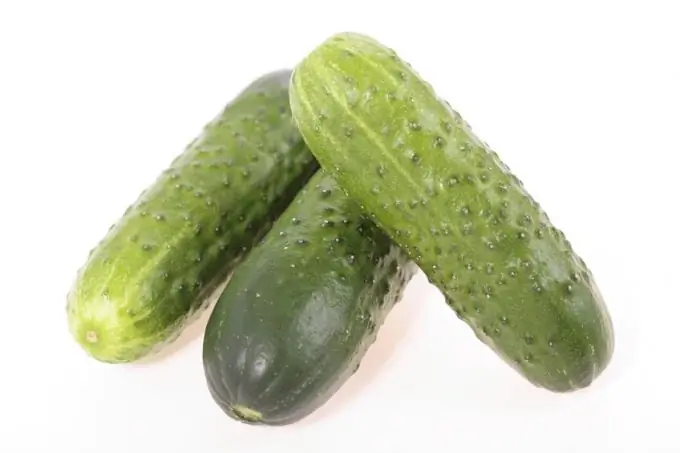
Vegetables and fruits are the best assistants for aspiring artists. It is on their "portraits" that draftsmen practice their basic skills. One of the main objects in the paintings of this period of study is the cucumber.

It is necessary
- - paper;
- - a simple pencil;
- - eraser;
- - watercolor;
- - brushes.
Instructions
Step 1
Lay a sheet of watercolor paper horizontally. Determine the location of the objects on it. Draw the outlines of the cucumbers with a pencil. Leave empty space between them and the edges of the sheet on all sides.
Step 2
Draw center axes for each of the three cucumbers. Carefully calculate the tilt of each axis so that the resulting objects lie on the same plane. To check the correctness of these lines, place a pencil on the axis of the original, and then, without changing the angle of inclination, over the drawing. Lastly, draw the axis of the farthest cucumber on the left.
Step 3
To build the volumetric shape of objects, you need to draw ellipses at the base of each of them. To do this, draw horizontal axes on the central axis - four for each cucumber. They should be parallel to the bottom edge of the sheet. The width of the axis corresponds to the width of the cucumber.
Step 4
Draw ellipses on the axes. Their shape should match the shape of the cucumber, not perfectly round.
Step 5
When the sketch is ready, erase the construction lines - all axes and those parts of the ellipses that will not be visible in the final drawing.
Step 6
Color the cucumbers with watercolors. When working with such objects, the main color is usually filled in, then it is complemented by various shades. Mix herbal color and ocher in the palette. Having achieved a light shade, apply it with a wide squirrel brush on the left and right cucumbers. Leave the highlight on the end of the left cucumber unpainted. Then add a little light brown to the shade (on the palette) and apply the resulting color to the bottom of the right cucumber.
Step 7
Mix in the selected watercolor tones more dark green and fill it with the cucumber in the center of the picture. Leave the highlight white.
Step 8
Add tints to make objects look natural. On the side of the left cucumber, apply a mixture of green and dark brown, on the back of it a little blue. A combination of blue, green, brown, and a bit of brick will work for the bottom half of the center cucumber. Add a light brown to the shadows on the sides of the right cucumber.
Step 9
Use a thin brush to work through the dark bumps on the skin of the vegetables. Finally, draw the shadows that cast the objects.


