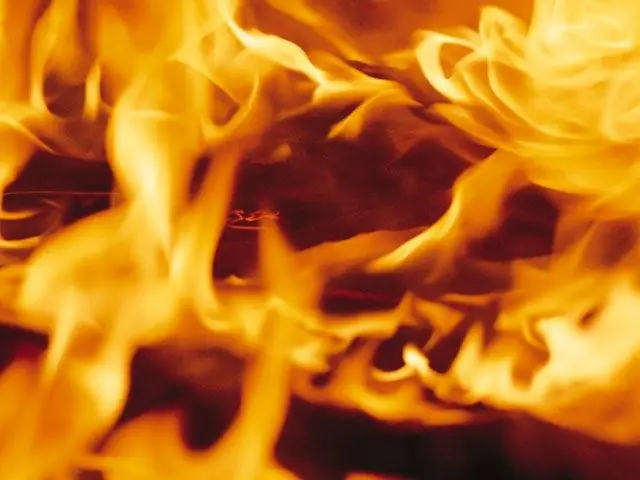
Tongues of fire are often used in collages and fragments of the design of Internet pages. You can draw a flame of the desired shape and color using ready-made brushes and a gradient map in Photoshop.

It is necessary
- - Photoshop program;
- - brushes for fire.
Instructions
Step 1
Use the Ctrl + N keys to create a new file with a light background in RGB color mode in the graphics editor. Press the D key to return the foreground and background color settings to their default values. Use the Shift + Ctrl + N keys to add a layer to the document where you will draw the fire.
Step 2
To create fire, ready-made brushes saved in a file with the abr extension are suitable. Such files are easy to find on Internet resources devoted to lessons on working in graphic editors.
Step 3
Load the downloaded fire brushes into the program. To do this, make the active tool Brush / "Brush" and open the palette of brushes. If it is not visible in the Photoshop window, call this palette using the Brushes / "Brushes" option of the Window / "Window" menu or by pressing the F5 key. Open the palette menu by clicking on the button that looks like a triangle. Select the item Load Brushes / "Load brushes" and select the file with brushes for painting fire.
Step 4
Open the Brush Tip Shape tab of the Brushes palette. At the bottom of the swatches window will be the newly loaded Fire Tongue Brushes. Select one of the swatches by clicking on it. Click on the transparent layer to place a brushprint on it.
Step 5
A flame consisting of tongues of the same shape and size will not look particularly realistic. To make the image a little more varied, select another swatch saved in the same file. Insert a new layer into the document, place the brush marks on it and change its position, skew and size using the Free Transform option of the Edit menu. To move the stamp to a different location, turn on the Move Tool.
Step 6
You don't have to create a new layer for each print. In this case, adjust the size of the brush by moving the Diameter slider in the Brush Tip Shape tab. To tilt the print at an angle other than the default, enter a value in the Angle field on the same tab.
Step 7
Color the painted fire with a gradient card. To do this, use the Gradient Map option, New Adjustment Layer group, Layer menu, add a layer with a filter to the file and adjust the gradient with white, yellow, orange and black markers. This will turn the darkest part of the picture white and the lighter background black. Other fire fragments will turn yellow-orange in color.
Step 8
For a blue flame, use cyan instead of yellow and blue instead of orange in the custom gradient. As you change the settings, you can see how the color of the drawn fire changes.
Step 9
Save the resulting image using the Save option of the File menu.


